Yet another YT-1300 Conversion

By BAGGY, in X-Wing

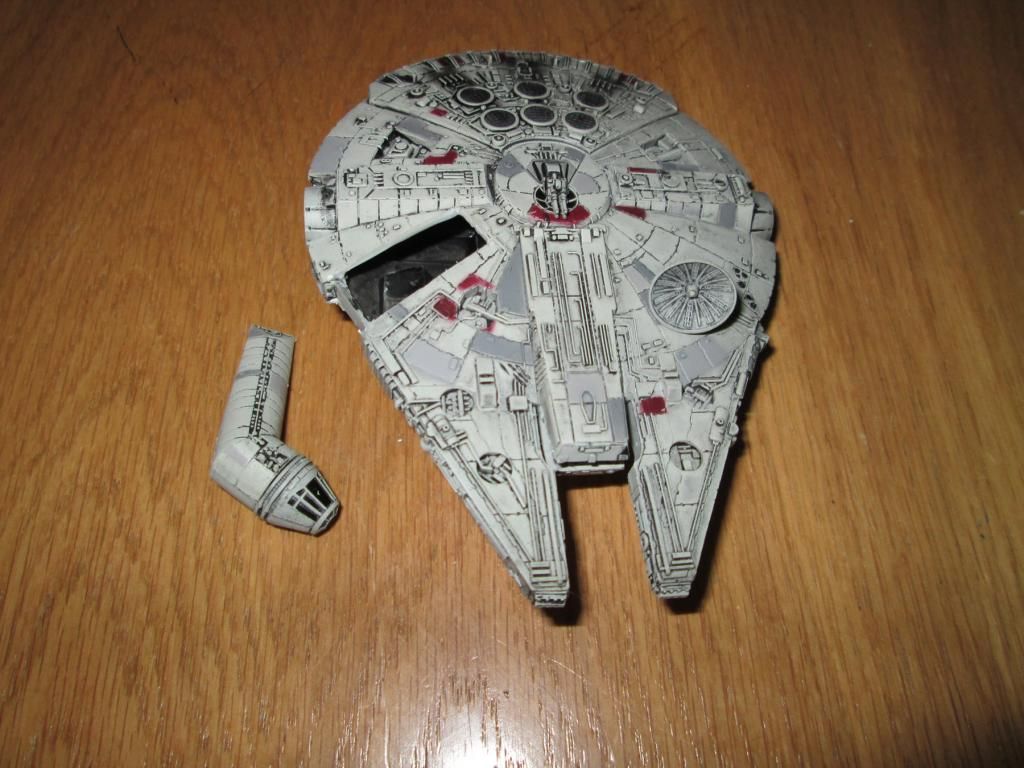
So I have started on a conversion for my YT-1300 after seeing several others who have posted their conversions here.

I hope to take regular photos as I go along to track the progress.

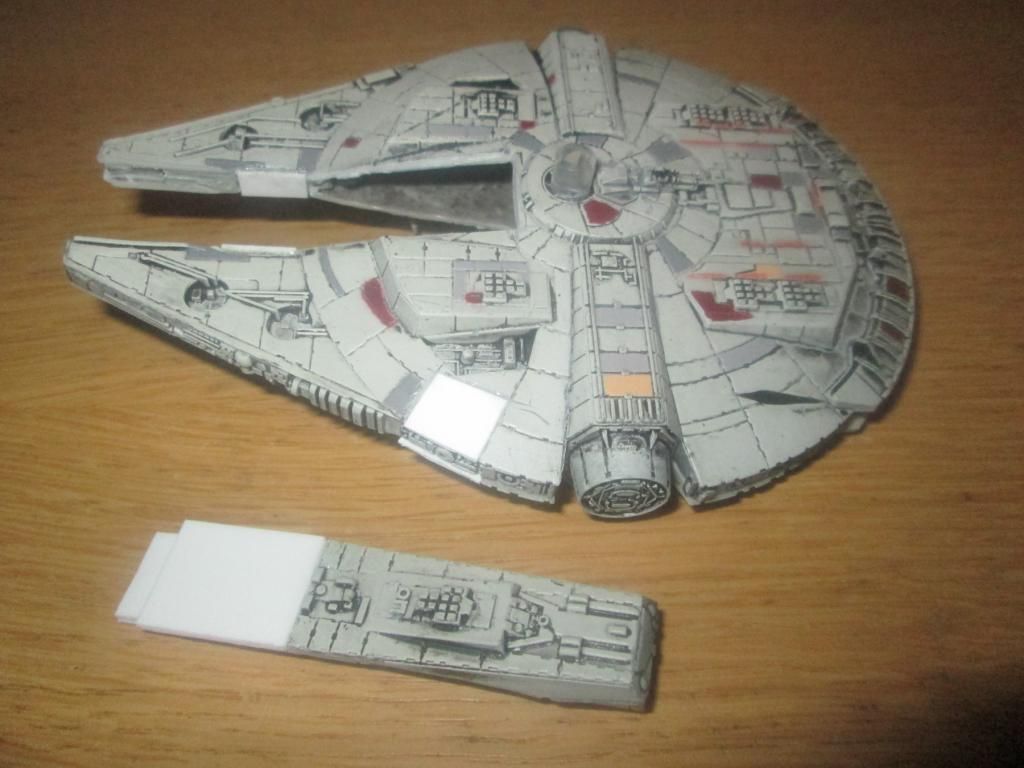
IMG_0329-R.jpg

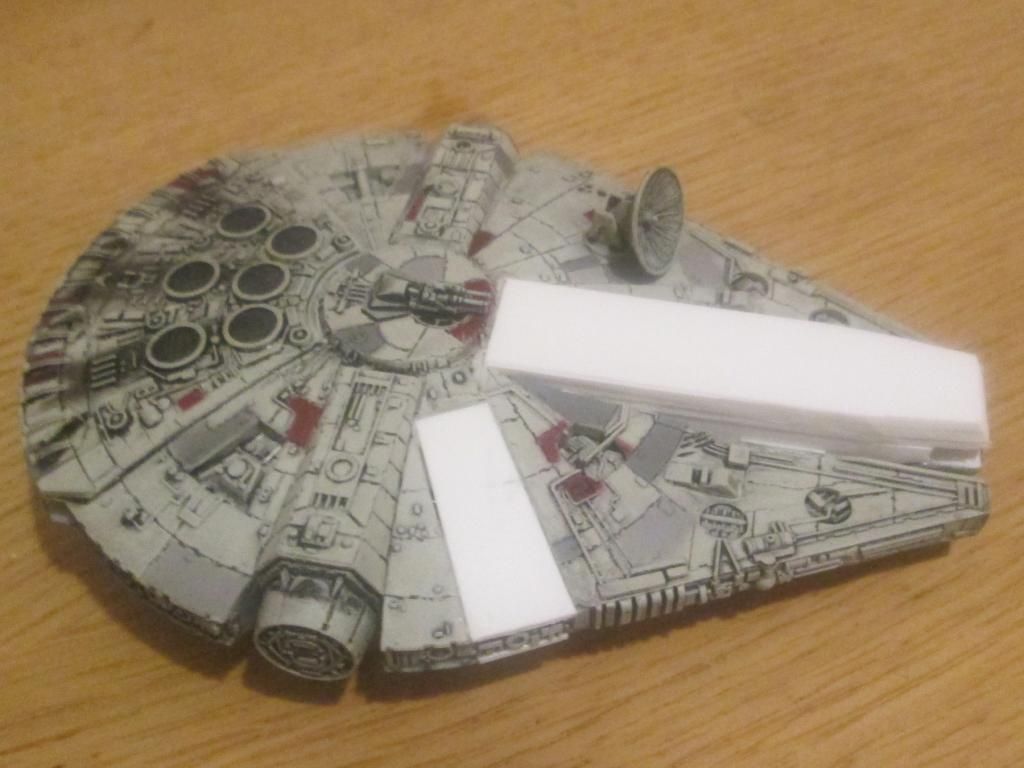
IMG_0330-R.jpg

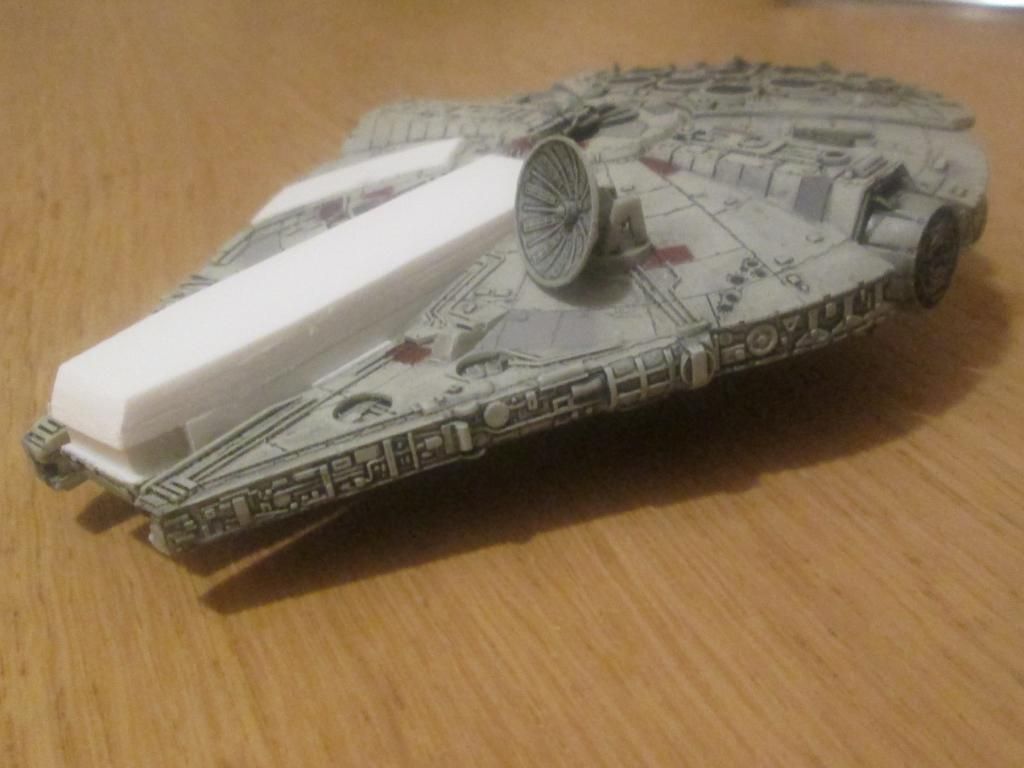
IMG_0335-R.jpg

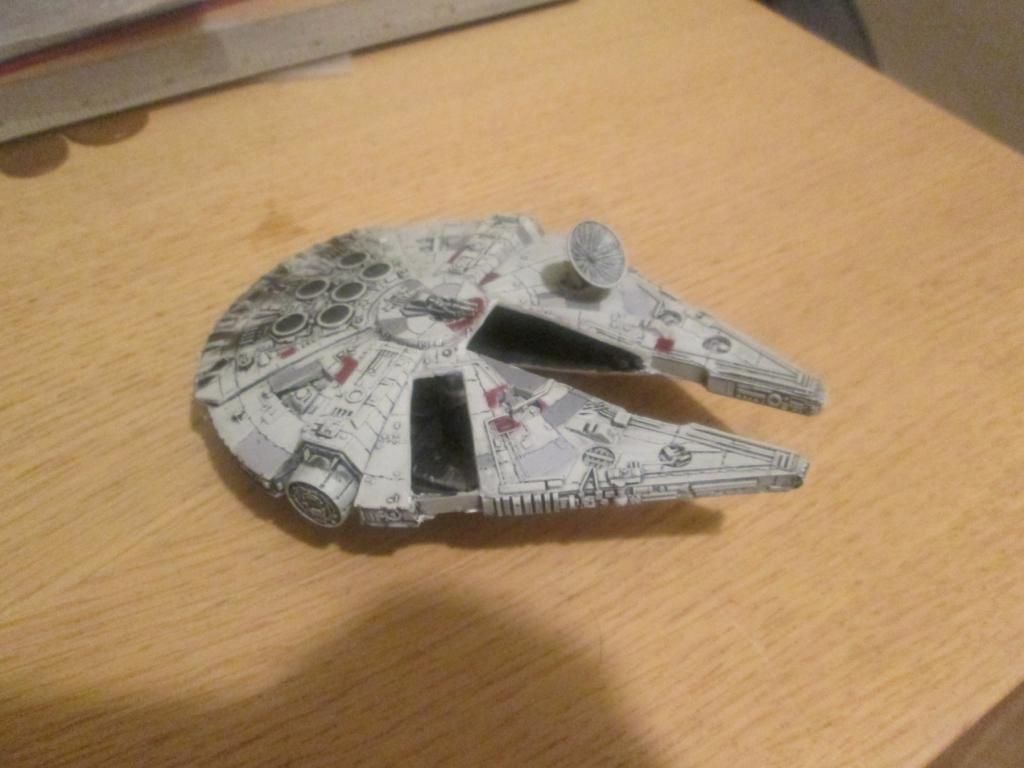
There may be some time between photos as this is the first time I am using plasticard or carry out any significant alteration to a miniature. The above photo shows about 4hours of progress which should probably have taken me a lot less time

Modification Part 2

I am happy with progress so far

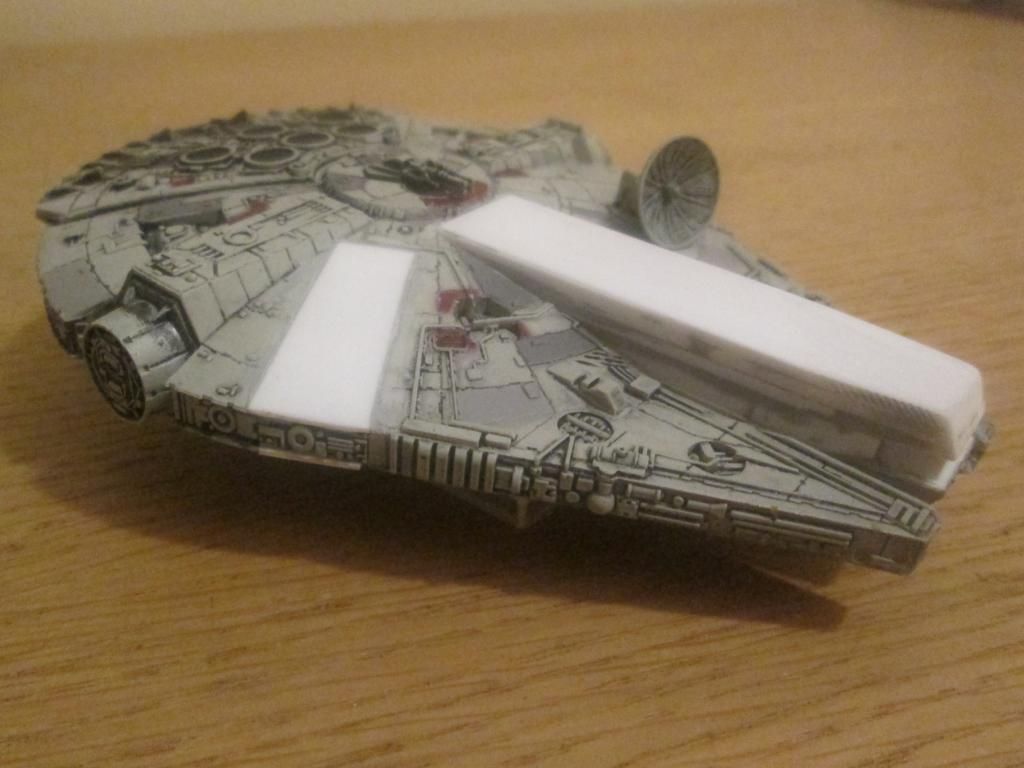
MF-R-04.jpg

MF-R-05.jpg

Modification Part 3

Slow but steady progress

MF-R-06.jpg

MF-R-07.jpg

Modification Part 4

A little modelling putty to infill the gaps

MF-R-08.jpg

Edited by BAGGY

Reserved for pictures

Reserved for pictures

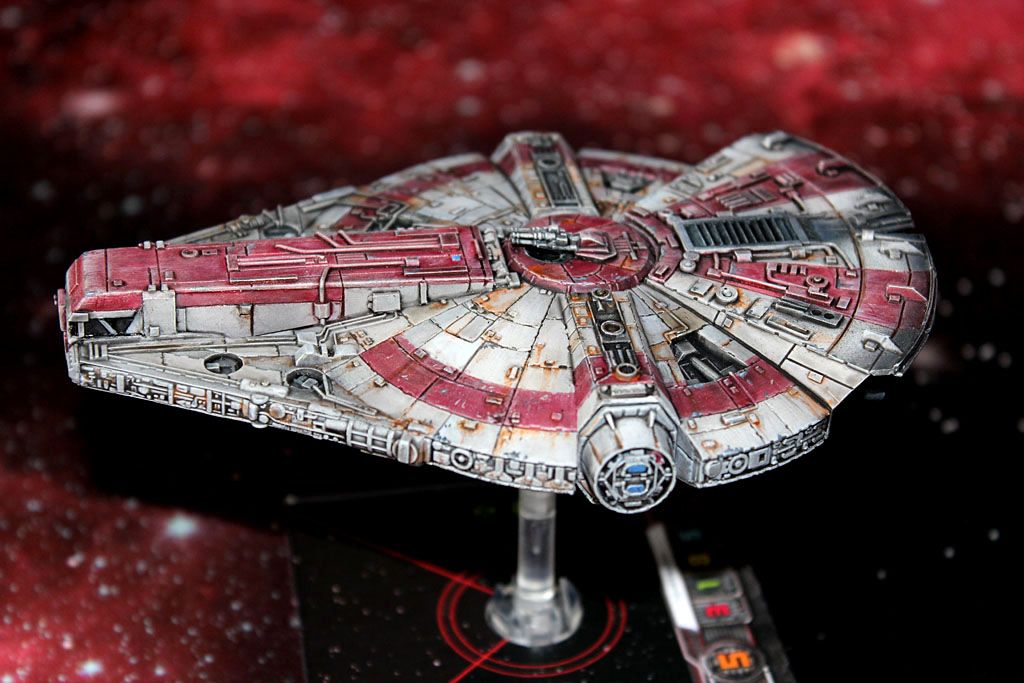
The plan is to have a armoured hull cockpit like below

14110271910_a75d6bef3c_o.jpg

I would like smooth panels like below

IMG_20140908_195600536_zpslzg0pqh0.jpg

and a non metallic metal repaint like below

HWKfin1.jpg

My skill probably will be way short to pull off what I have in my mind so it will be interesting to see what I end up with.

Good luck dude! The smooth panels on the green one kind of make it took like star trek to me, not that there is anything wrong with that (I love star trek) that's just what it reminds me of :)

Good luck, hope you will be satisfied with the result, that's is the important.

Good luck! :D

Good luck dude! The smooth panels on the green one kind of make it took like star trek to me, not that there is anything wrong with that (I love star trek) that's just what it reminds me of :)

What?! No! Star Trek shall not enter this beautiful universe! :angry: J/K

Good luck dude! The smooth panels on the green one kind of make it took like star trek to me, not that there is anything wrong with that (I love star trek) that's just what it reminds me of :)

Kinda gone off the Idea now nothing wrong with ST but not in my SW collection

1st post updated with current photographs.

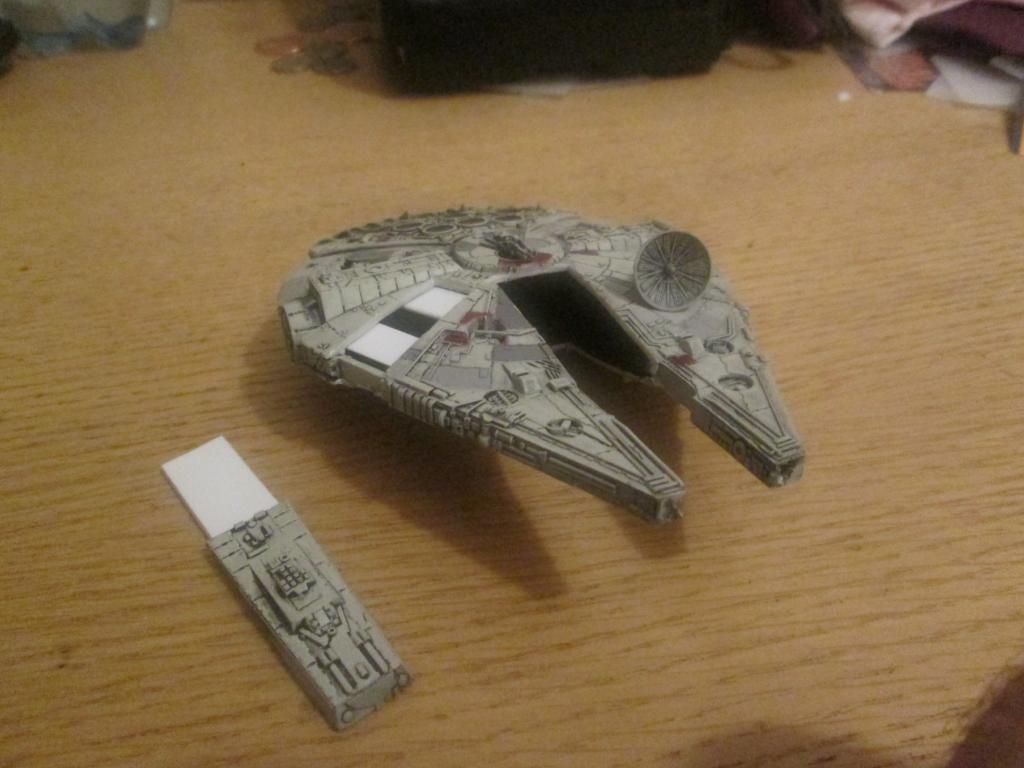
I am happy with the progress so far I have created a hull section where the cockpit used to be, I was unsure how I would create a suitable detail for the side of the falcon at this location but as I will be putting a new cockpit in-between the front prongs i removed the plastic on both sides and reused a piece. I have reused a section of the original model for the underside of the new cockpit section but I plan to scratch build the top, not sure how yet but will cross that bridge when I get to it.

Edited by BAGGY

1st post updated with current photographs.


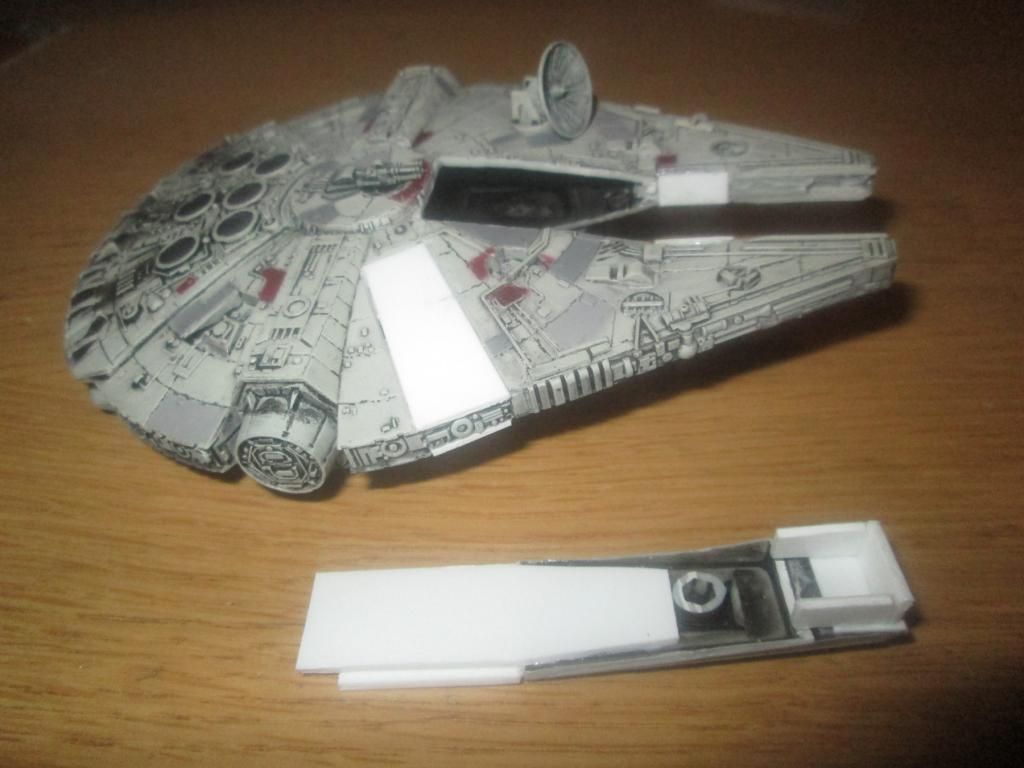
The progress is slow but I have now created the top section of the the cockpit.


This was created by gluing three sections of plasticard together in a sandwich and trimming the resulting block to the desired shape.

1st post updated with current photographs.


This step is very uninspiring simply infilling gaps with some modelling putty.


Now I can move onto the interesting part adding detailing.