REPAINTS, CONVERSIONS & SCRATCH BUILD THREAD

By Gadge, in X-Wing

I hope I post this correctly.

Assuming I do, first I'd like to say I'm glad I found this thread. Lots of wonderful stuff here. I really enjoy looking at everyone's creativity, imagination, and personalization. I've just started trying my hand at repaints. I've done some scratchbuild as well with more stuff planned. Here's some of my creations:

(...)

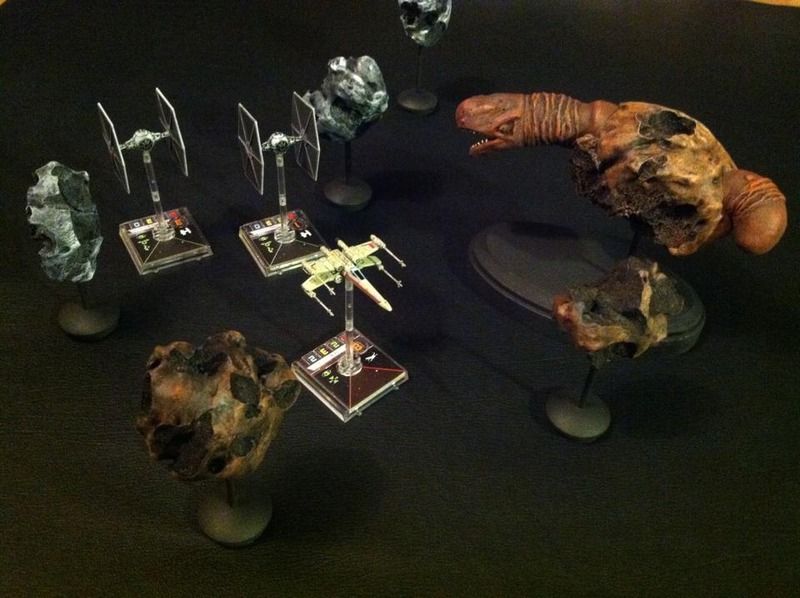
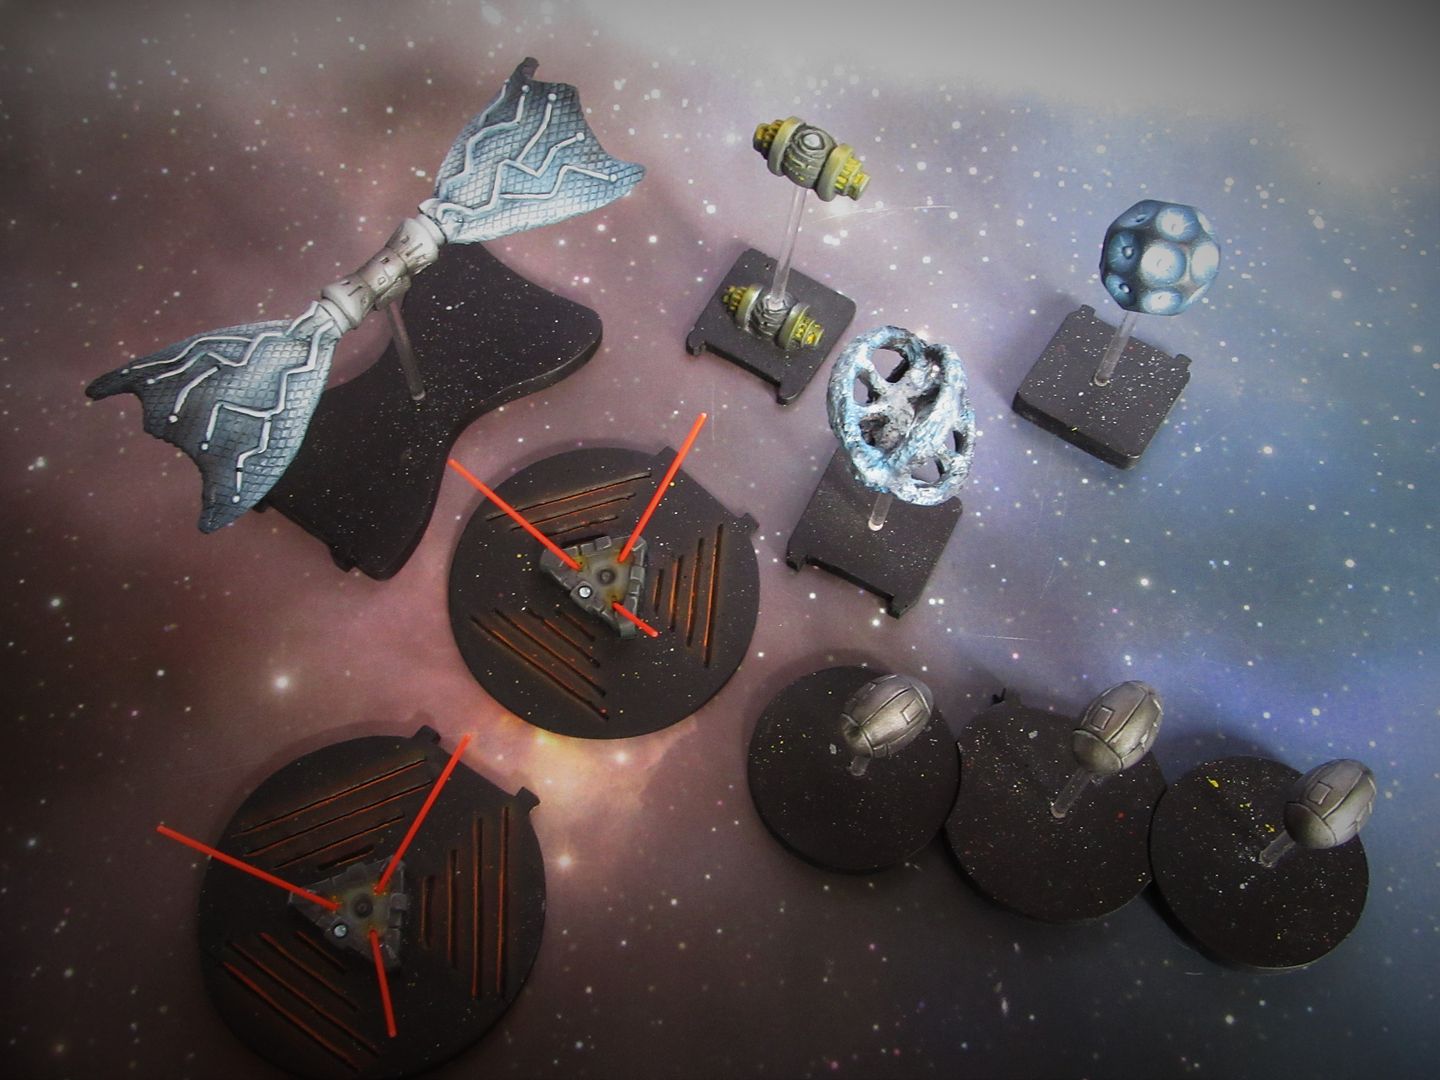
2.) This pic shows my asteroids I made along with my (caricaturized) space slug. The kids have named him "Wormy."

worm.jpg

(...)

:) Amazing slug! What is Wormy made of?
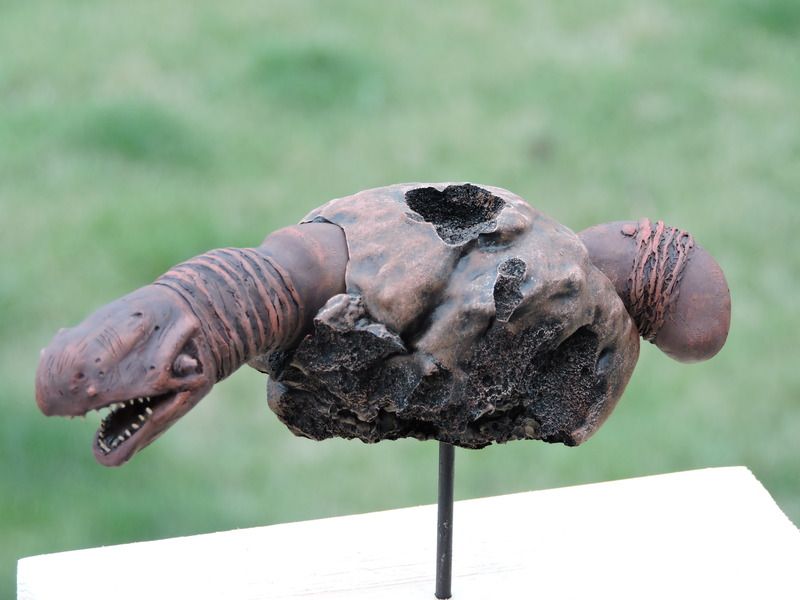
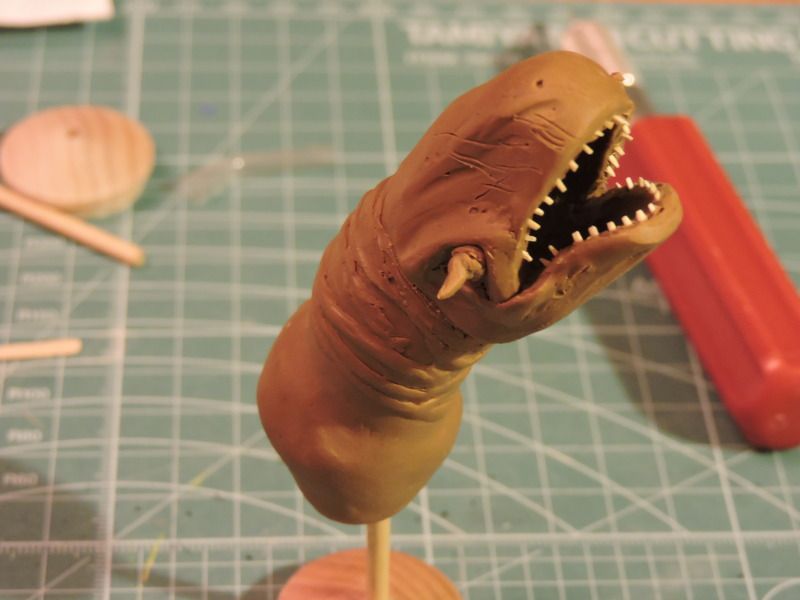
Thanks! Wormy is made from Sculpey clay. The asteroids are made of Great Stuff foam filler. I originally just planned on the head coming out of the asteroid, but decided to add the tail for some counter balance. I used the tips of toothpicks for teeth. I would like to add a tiny Falcon fleeing the scene. haha.

Here he is before baking:

DSCN1213.jpg

...and here's a little brighter pic of him complete:

DSCN1216.jpg

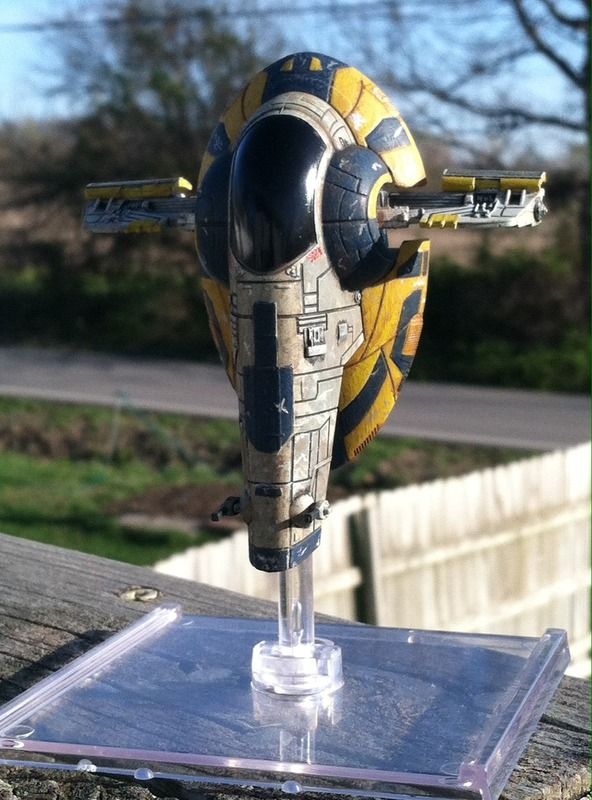
Here's my Firespray repaint. I opened her up today to do the lighting only to find my local radio shack has none of the stuff I need...ugh. There's another place I'll try tomorrow. For now, here's the paint scheme I went with, grimy, scratched, well worn.

Firespray.jpg

Got all 3 of my z-95s painted up in a suitably unique piratey/bounty hunter fashion

y6UEnhw.png

AtA3jSh.png

8l2NCD6.png

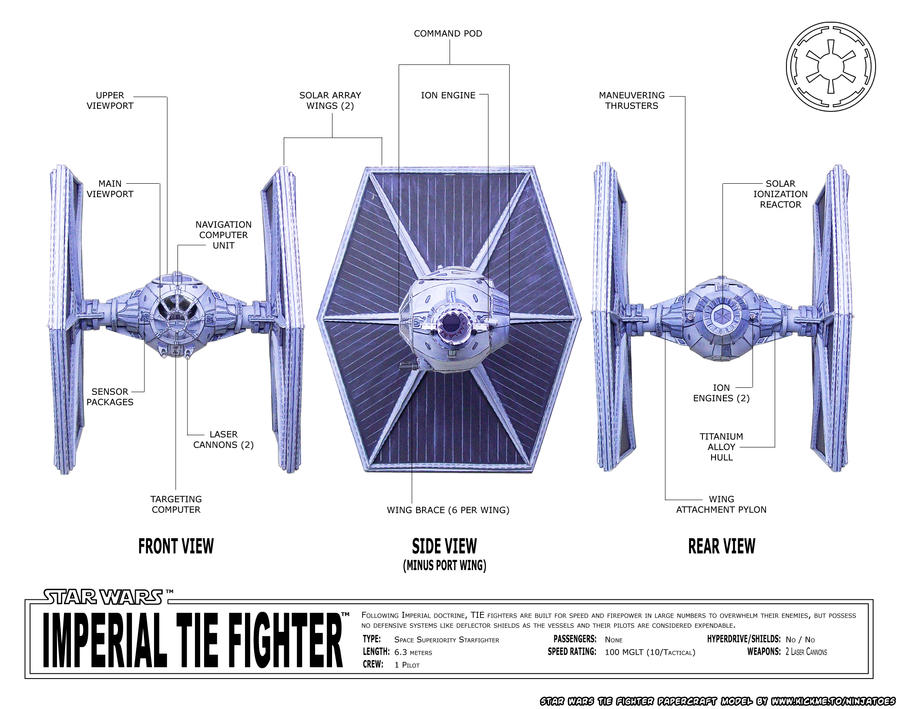
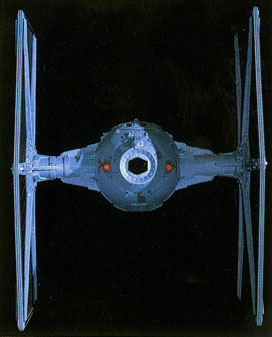
There's some truly astonishing repaints in this thread, but something that's been bugging me are the TIE Fighters.

The big hole in the back, is not the engine exhaust.

Here's a few pictures showing where the engine exhaust is on a TIE Fighter. papercraft_star_wars_tie_fighter_schemat

tieball2.jpg

tie_render3_alpha.jpg

I hope that helps :D

The Ties from the original trilogy had hatches or covers in three locations to cover the attachment points for thd motion control arms. I'm not sure they had exhaust effects. It's been a very long time since I watched them.

I just checked the scene where they arrive at the (now blown-up) planet of Alderaan, and there are faint red "lights" where those exhausts are.

But the exhausts have never been very noticable on TIE fighters in the movies.

And they certainly never were portrayed as being in that big central hole :P

That hexagonal patch on the back of the TIE is a viewport. In the Rebels short film "Property of Ezra Bridger" you can see light from the outside through that viewport when Ezra opens the top hatch to "help" Valen Rudor (the same pilot Zeb beats up twice and the PS 6 TAP pilot).

Edited by T70 Driver

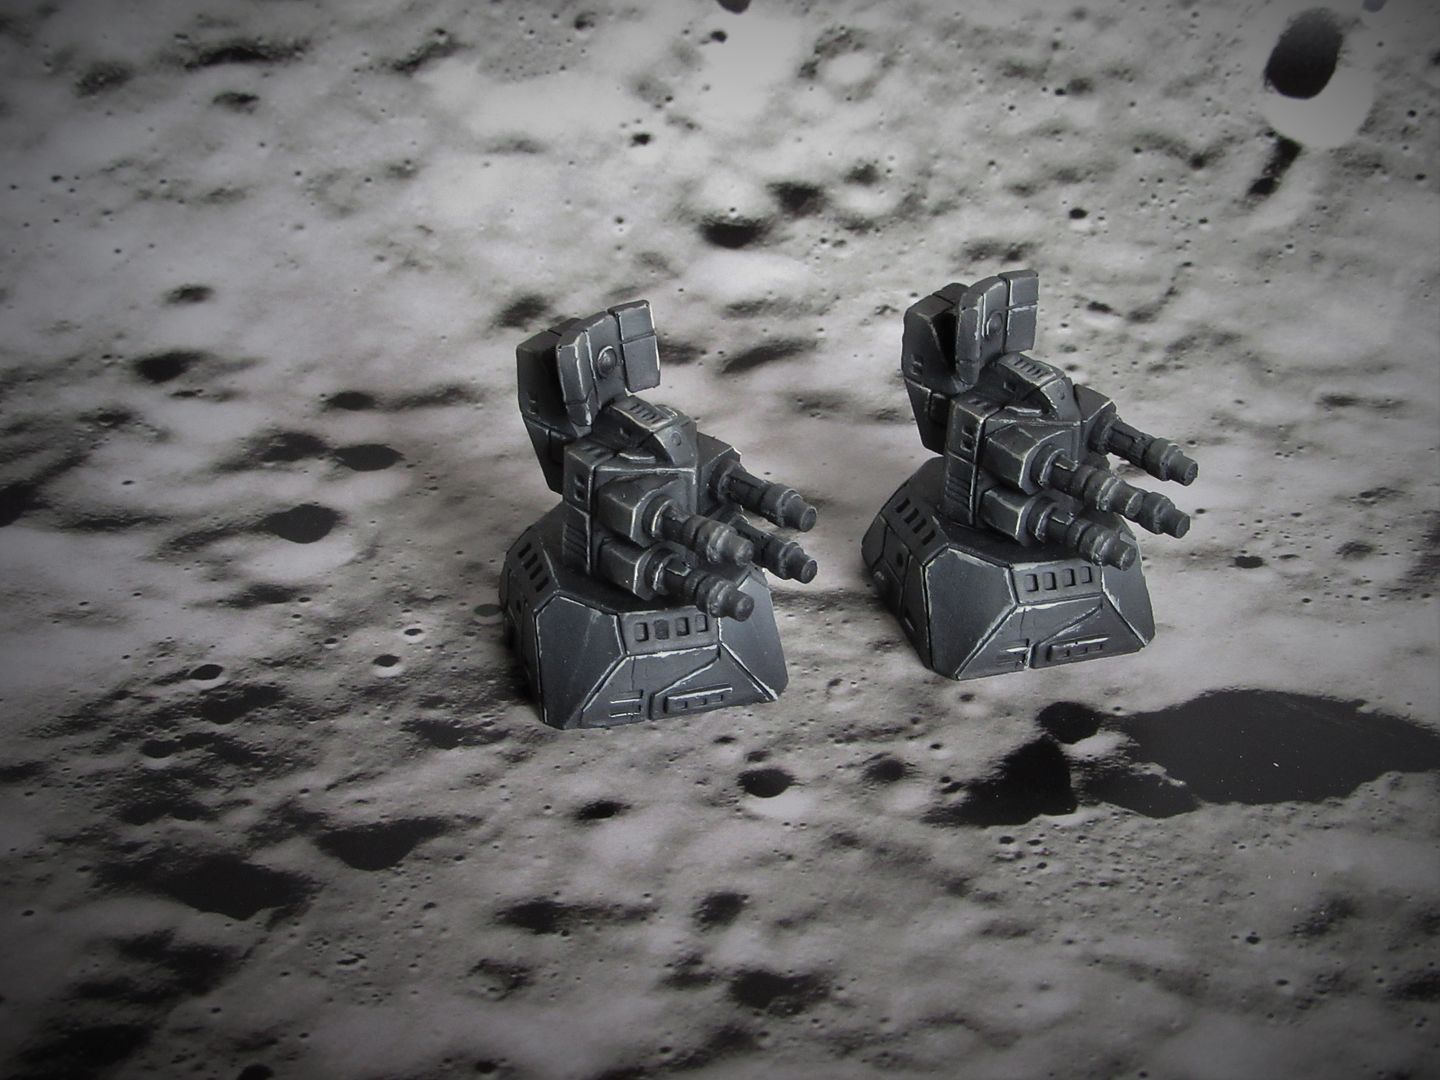
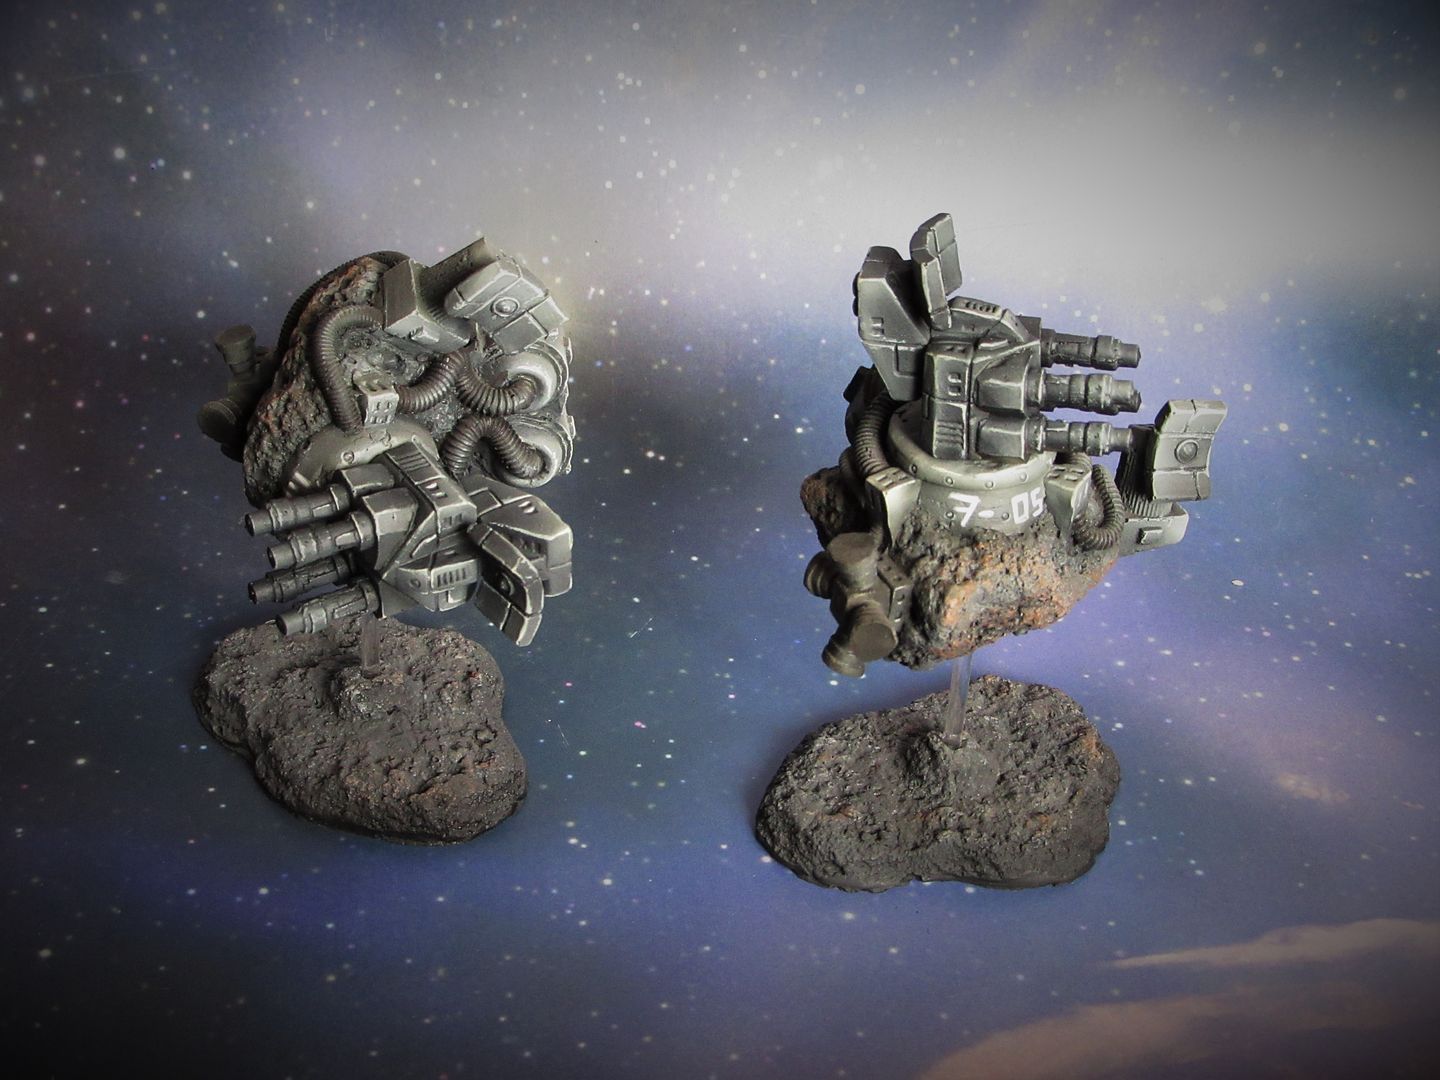
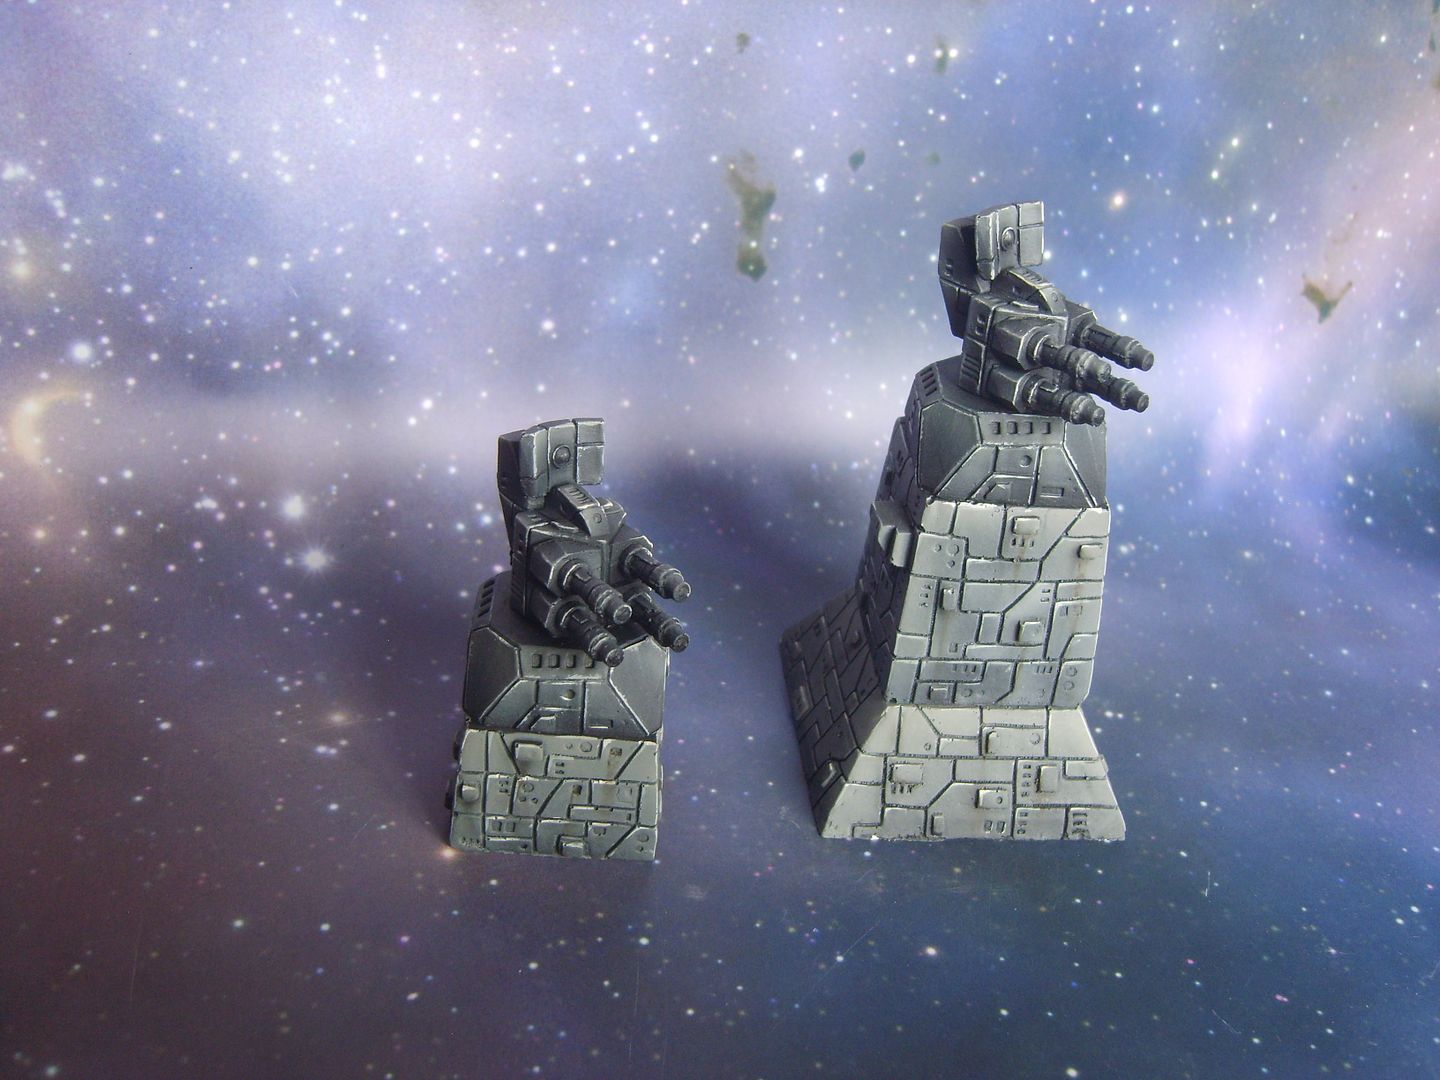
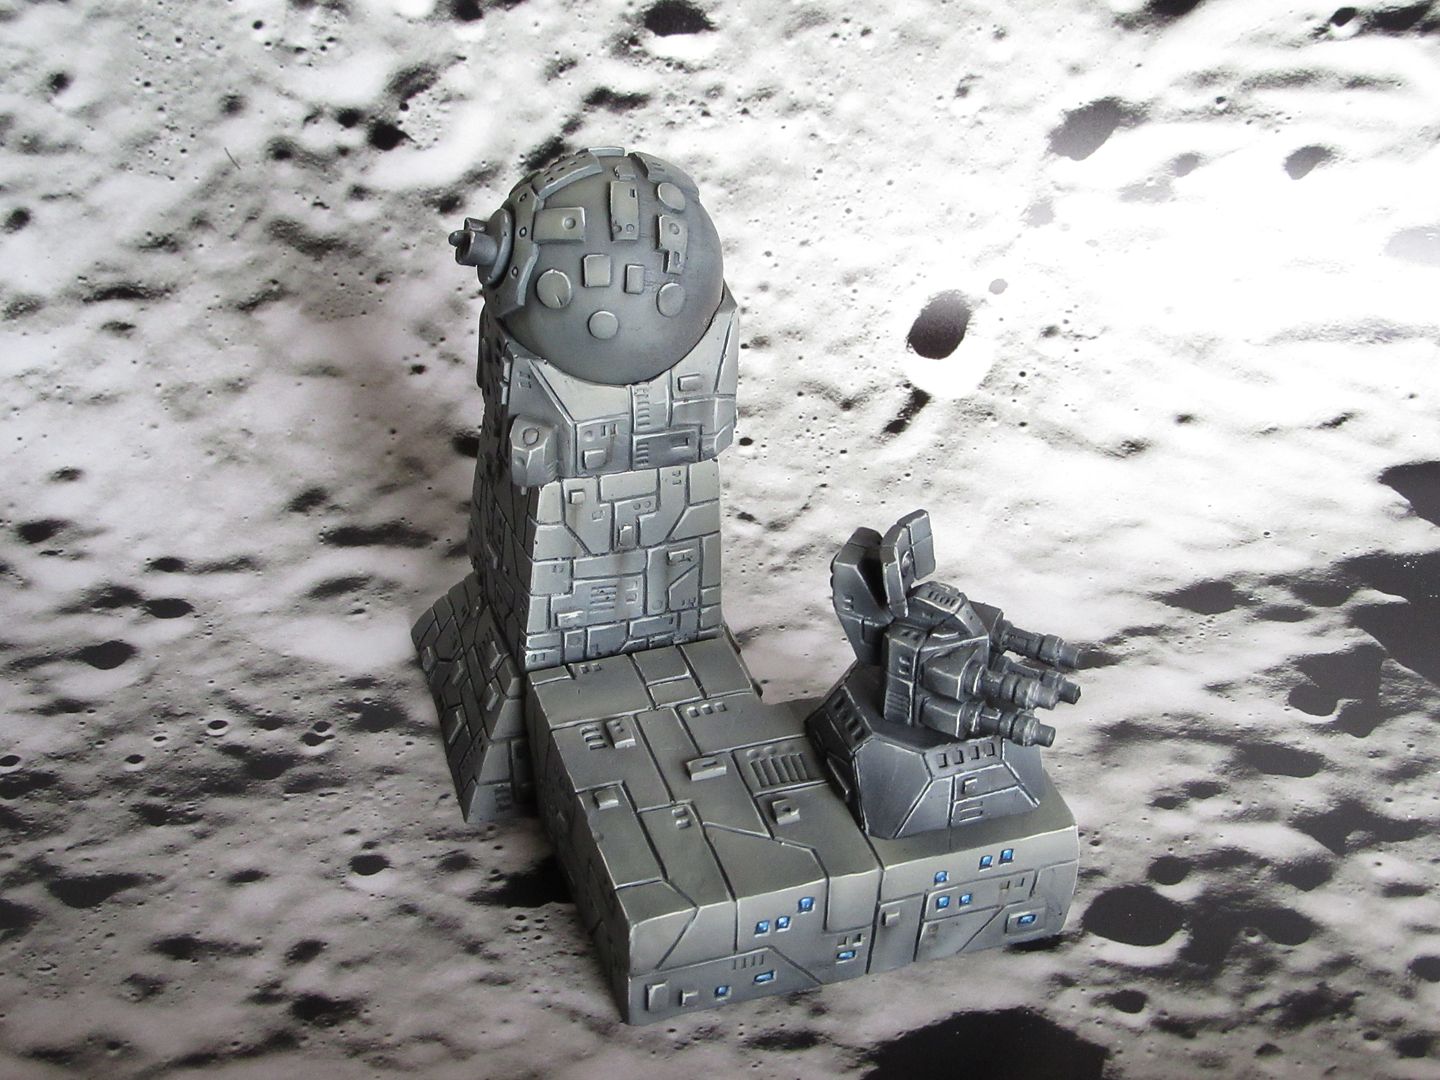
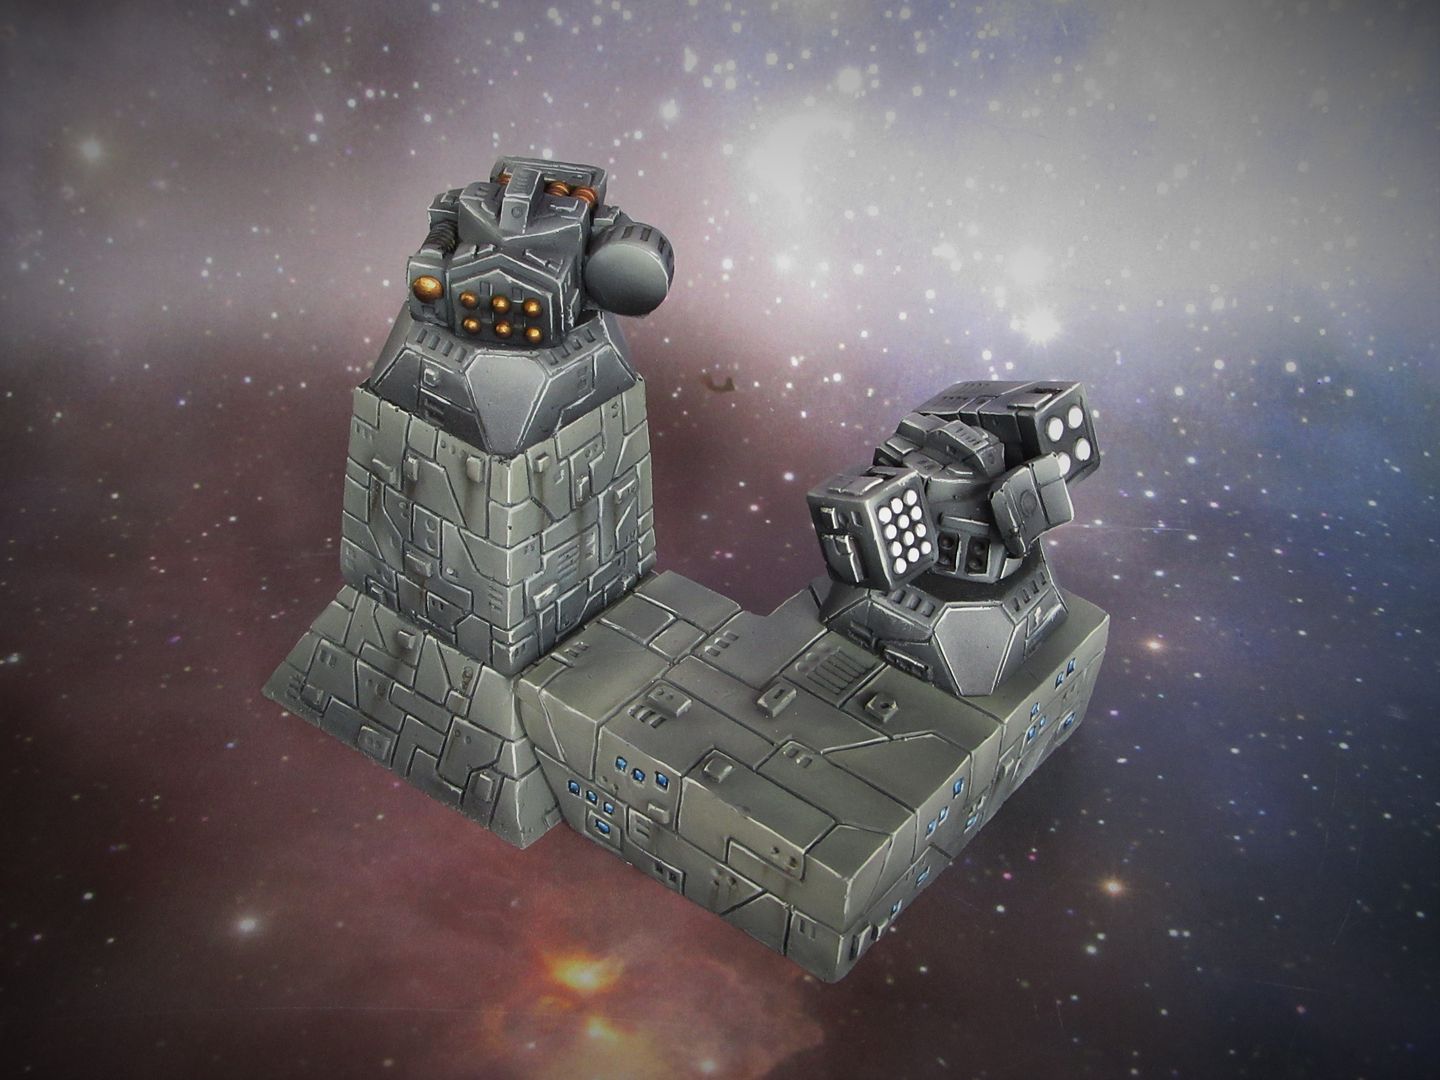
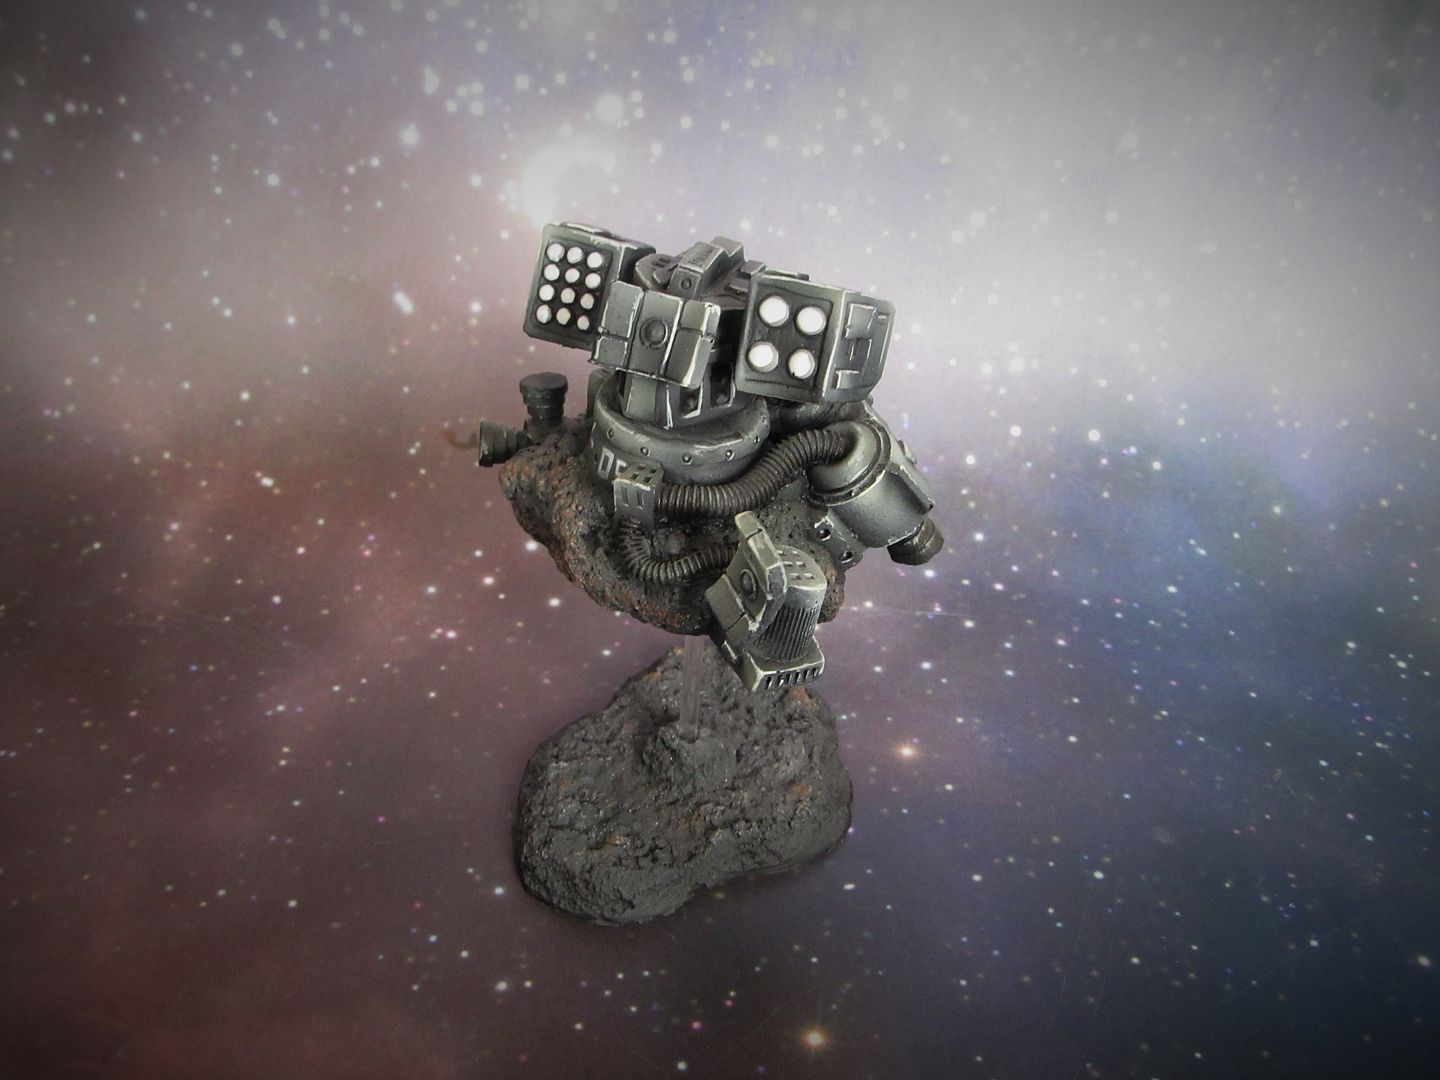
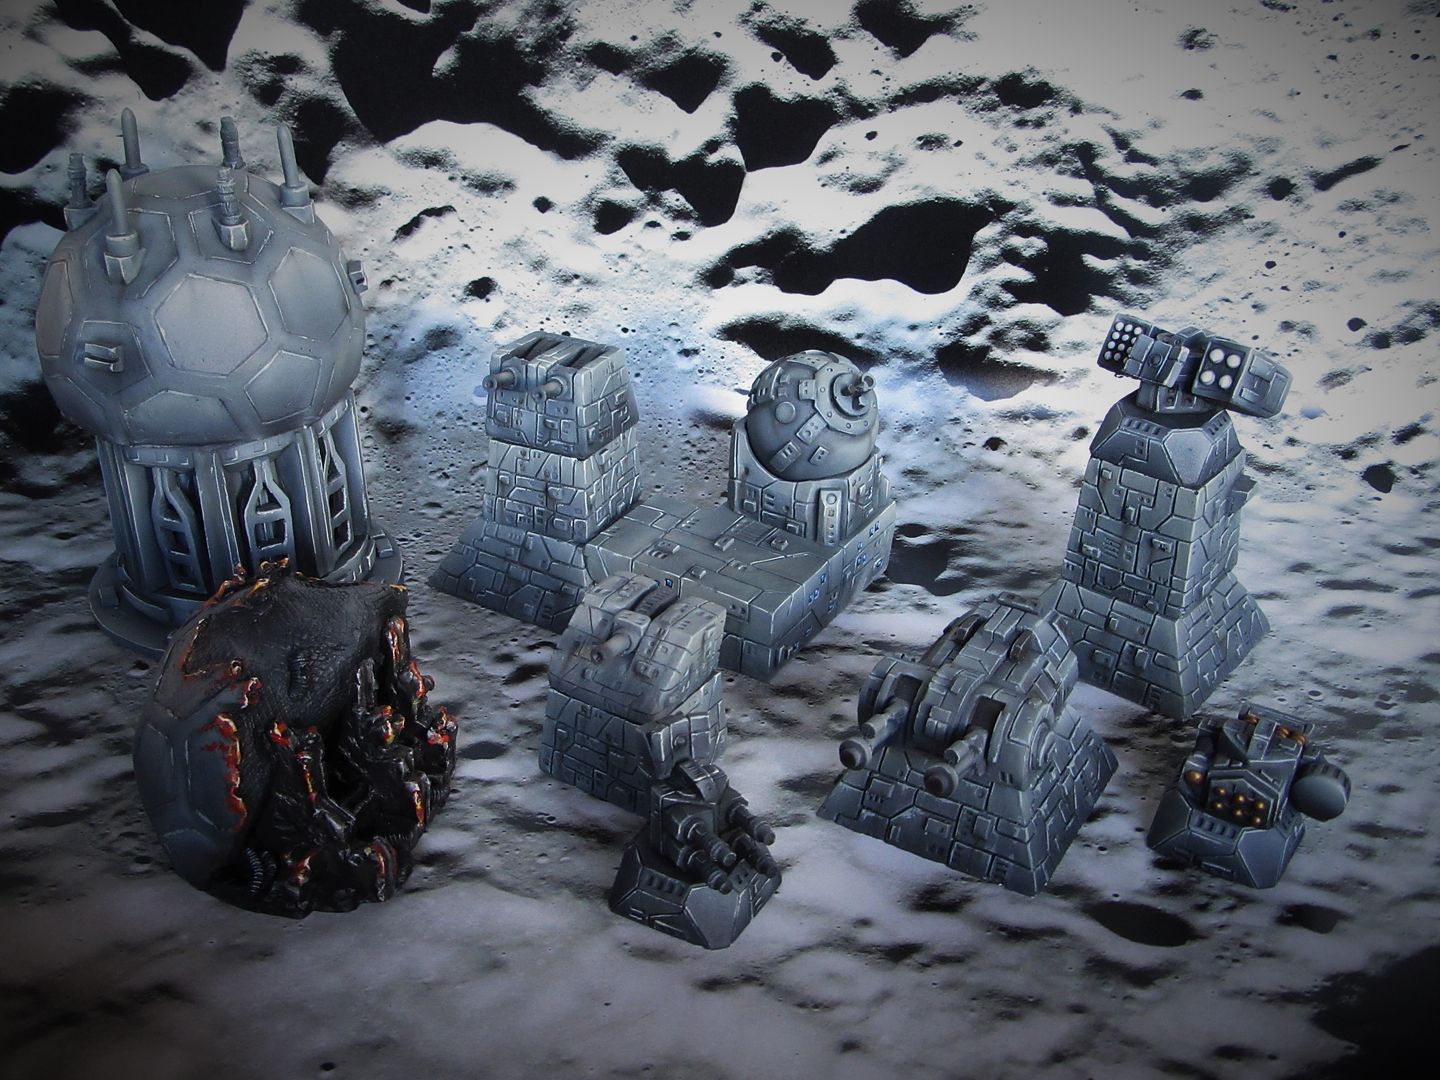
Made a few new turrets for our trench system, everything interchangeable with our other bits n bobs, cards are downloadable from the website

Quad cannons, good anti fighter system, also looks pretty funky on the towers and asteroids!

Scorpion%20turrets%201_zpst1rp41l9.jpg

Scorpion%20turrets%205_zps9gz9cnpk.jpg

Scorpion%20turrets%202_zpsi361bigw.jpg

Scorpion%20turrets%204_zpsdmhxktq4.jpg

Raptor missile system and tractor beam

Missile%20and%20tractor%202_zpsss8pwrcp.

Missile%20and%20tractor%204_zpsbo6oiedz.

It's getting bigger!

Missile%20and%20tractor%206_zpslnnfst88.

Also updated the bomb pack!

new%20bomb%20pack%202_zpstckvxoq1.jpg

I would love a couple sets of those bombs.. they look awesome

Made a few new turrets for our trench system, everything interchangeable with our other bits n bobs, cards are downloadable from the website

Seriously cool work there. I love the bomb tokens. That Conner Net looks excellent.

What did you use to make everything?

One of my Brobots done (ig-88 B), not sure if its good.. any advice would be welcome!

I plan to make the other one the same but another colour for the red, i think green because of evade token colour (its going be ig-88 C),

but maybe another colour would be nicer though so i'm not sure yet..

I didn't use primer (because i wanted to keep the windows as they are)

and the red really didn't want to cover too wel so its a bit thick, does everyone prime their x-wing models before painting?

LazatKV.jpg

the aggressor is fantastic sir.

I dont prime. just a super thin brushed on layer of a `whitewash` sometimes if i need to reset the ship. super thin layers of anything will eventually get you where you want to be without risking losing detail with a spray pimer.

no one way is best. everyone has their own groove.

GR-100 CANNON SHARK
BASE SHIP – GR-75 Medium Transport
MODIFIED SHIP STATISTICS:
Firepower – 5
Maneuver - Green 5 Straight
The GR-100 Cannon Shark is a heavily modified strike ship made from the base of a GR-75 Medium Transport. The Empire made common enemies by destroying Marvo Dishogan’s spice business and breaking apart the Hondo Ohnaka gang. United, Dishogan and Ohnaka sought vengeance by creating a small fleet of Cannon Sharks that would hyperspace into known Imperial Navy routes and effectively disable and destroy Imperial Star Destroyers. The Sharks stored massive amounts of Tibanna gas that powered its inverted Ion Cannon, two inverted Turbo Laser Turrets, single Star Destroyer Turret, and six additional Combat Thrusters.

2016-04-03%2000.59.47.jpg
2016-04-03%2001.01.50.jpg
2016-04-03%2001.02.11.jpg
2016-04-03%2001.01.26.jpg
2016-04-03%2001.00.04.jpg
2016-04-03%2001.00.33.jpg
2016-04-04%2019.42.21.jpg

the aggressor is fantastic sir.

I dont prime. just a super thin brushed on layer of a `whitewash` sometimes if i need to reset the ship. super thin layers of anything will eventually get you where you want to be without risking losing detail with a spray pimer.

no one way is best. everyone has their own groove.

Thanks :)

I finished the other one and went for purple IG-88C.

edt0eW3.jpg

MzTlteA.jpg?1

knXNBRR.jpg

Edited by Joruus

Just found this thread today, so many awesome painted ships!

I recently bought a starter paint set but didn't get to use it yet, I've never painted before

but seeing all this i just Had to give it a try on my Phantom.

I only have 1 and i am flying it this weekend on my first store tournament,

so i am happy the result is better than i expected :)

yPZo1ON.png

I really like the "cloaking" phantoms! I wish I knew how to do that.

It was a lot easier than i expected!

-I painted everything i wanted to be cloaked matt black. Let it dry a short while

-Then i used purple to outline between the black and the non-painted front, added some forks towards the back.

-Then same thing with blue, a little bit thinner so not all purple dissapeared.

-Then painted a very thin line of white in the middle of the blue lines.

Funny thing is i only have 1 color blue and no purple, but the blue came out of its bottle as purple first.. i guess i didn't shake it enough, i decided to use it anyway so that gave me two tones of blue.

You can also do it with just 1 blue color. Or if you want a nicer lightning effect use more colors of blue, going from dark to lighter shades, then white.

For those of us who have never painted at all before, but would like to try:

Is there some kind of starter set that includes a few brushes and paints?

Also I would love it if some of you guys made some youtube videos of your painting!

I used the army painters 'hobby starter paint set', came with 9 nice colors and a really nice brush.

I can't find the one i have on their site, i got mine at my flgs.

I have seen many "Cloaking Phantoms" on this and other sites, and yours is the best! Well done you! It really looks like the old video game cut scenes. Good job.

I have seen many "Cloaking Phantoms" on this and other sites, and yours is the best! Well done you! It really looks like the old video game cut scenes. Good job.

Thanks, that's great to hear ^_^

Banana Pirate needed some yellow :D

fMDtQKy.jpg

Ghost docking bay mod I designed, 3D printed and painted. It uses a 3x1mm magnet to hold the shuttle in place.

Available on Shapeways! http://shpws.me/M5L6

g0tq4wz.jpg iYD28LJ.jpg

VIfzdcV.jpg Uayur0g.jpg

tgss9Eq.jpg Gtt0nIe.jpg

Ghost docking bay mod I designed, 3D printed and painted. It uses a 3x1mm magnet to hold the shuttle in place.

Available on Shapeways! http://shpws.me/M5L6

g0tq4wz.jpg iYD28LJ.jpg

VIfzdcV.jpg Uayur0g.jpg

tgss9Eq.jpg Gtt0nIe.jpg

HEL-YAH!

:D BOO%2BTOPIC%2BGOOD%2BPOST.png

Strangely only the B-wing seems interested in the good post.

Strangely only the B-wing seems interested in the good post.

He is the guy still thinking about blasting it whiles the rest of the guys fly away peacefully...

BOO%2BTOPIC%2B1.png

B-WINGS like to blow stuff up, you know.

:lol:

Also a quick tutorial.

n9zgF6s.jpg y7qHJfB.jpg

Anyone have any recommendations or experience with silver or chrome spraypaint from krylon?

Ghost docking bay mod I designed, 3D printed and painted. It uses a 3x1mm magnet to hold the shuttle in place.

Available on Shapeways! http://shpws.me/M5L6

Uayur0g.jpg

You sir (or madame), deserve every penny you make from this. Genius.

Now we just need a "bottom half of the shuttle magnetized to fit with the top half that's been removed" piece, and we're in business.

Edited by ironkodiak

Ghost docking bay mod I designed, 3D printed and painted. It uses a 3x1mm magnet to hold the shuttle in place.

Available on Shapeways! http://shpws.me/M5L6

Awesome! The way it should have been made in the first place :)

I didn't plan on modifying any models (scary) but that one just must be done if i get a Ghost.

Can you explain a bit more about the step between ' it will look like this' and 'make it look like this'?

Was it possible to just cut it out with a knife?

Edited by Joruus

Ghost docking bay mod I designed, 3D printed and painted. It uses a 3x1mm magnet to hold the shuttle in place.

Available on Shapeways! http://shpws.me/M5L6

Awesome! The way it should have been made in the first place :)

I didn't plan on modifying any models (scary) but that one just must be done if i get a Ghost.

Can you explain a bit more about the step between ' it will look like this' and 'make it look like this'?

Was it possible to just cut it out with a knife?

I used a combination of a flat-bladed x-acto knife and an 1/8" drill bit. The plastic is soft so it's easier to clear out than it looks.

Also a quick tutorial...

...that is the best and most terrifying conversion tutorial I have ever seen in my life. Well done!