REPAINTS, CONVERSIONS & SCRATCH BUILD THREAD

By Gadge, in X-Wing

Far away and in normal lighting it wasn't too bad, but Jebus hit it right where I was thinking as well. Just looked .. too much. so it's all black now lol.

Thanks guys, I will repaint it, and not sure how I'll do it this time, maybe give it the TIE fighter grey and the cloak effect again and see how it comes out. Then some stars by hand.
Or get an old toothbrush with stiff bristles dab in paint and run your finger along the bristles it will give a natural spread on a black surface as it sprays, experiment on black paper to find the optimal range for you.

IMG_20141004_183359_zpsfkyc1yzt.jpg

IMG_20141004_182900_zpsgsdydkug.jpg

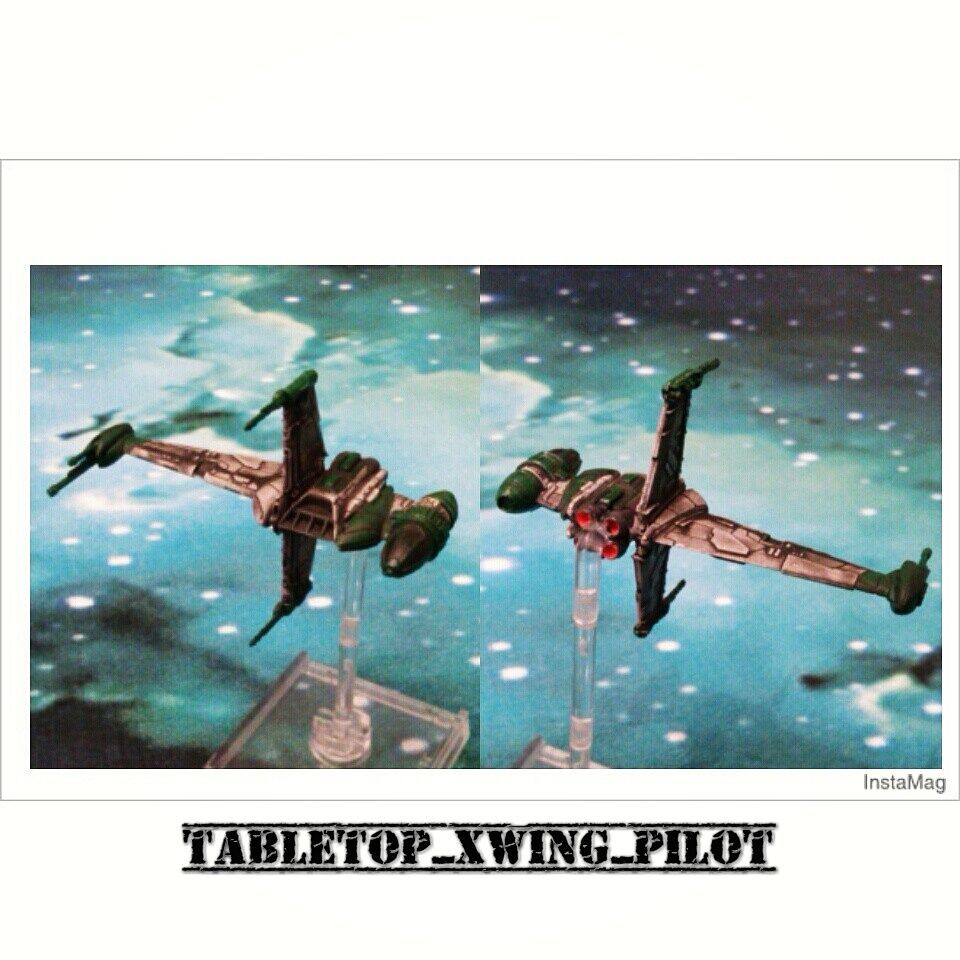
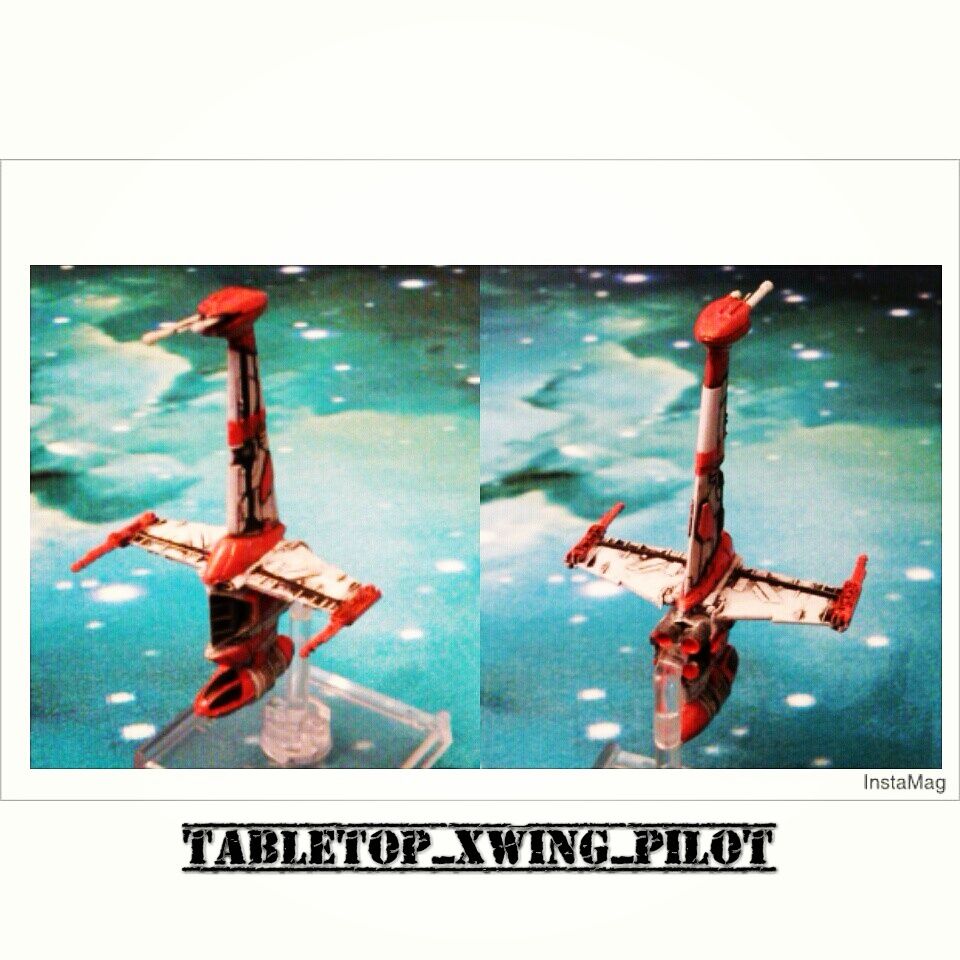
Some more B-wings.

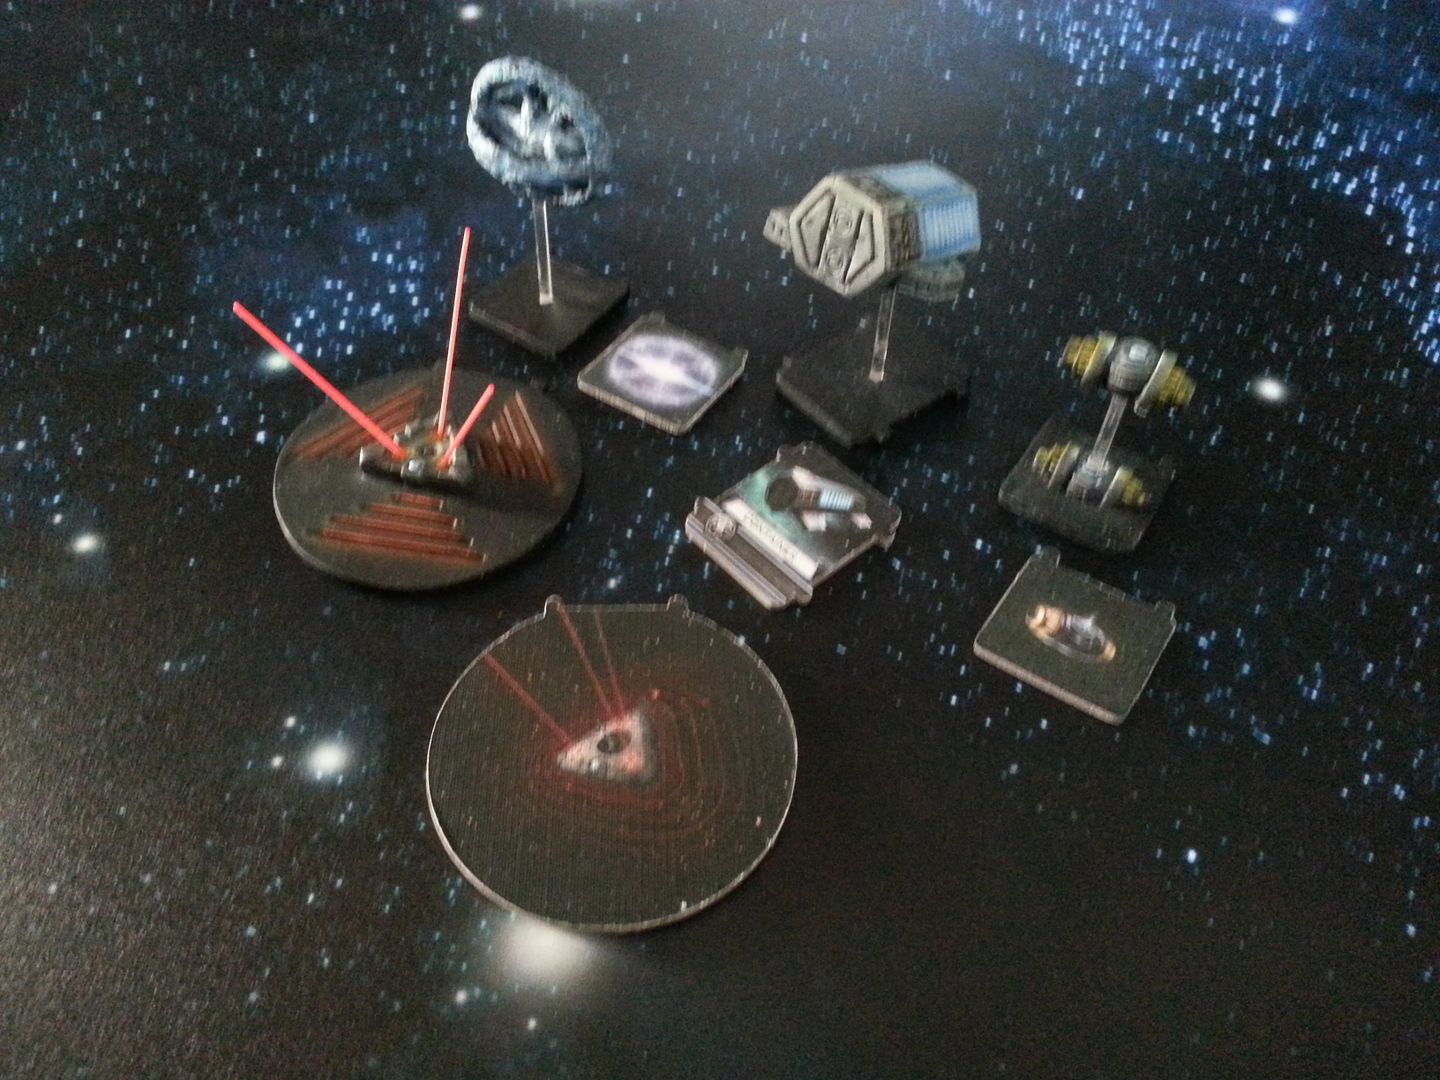
Been working on some replacements for the cardboard tokens...

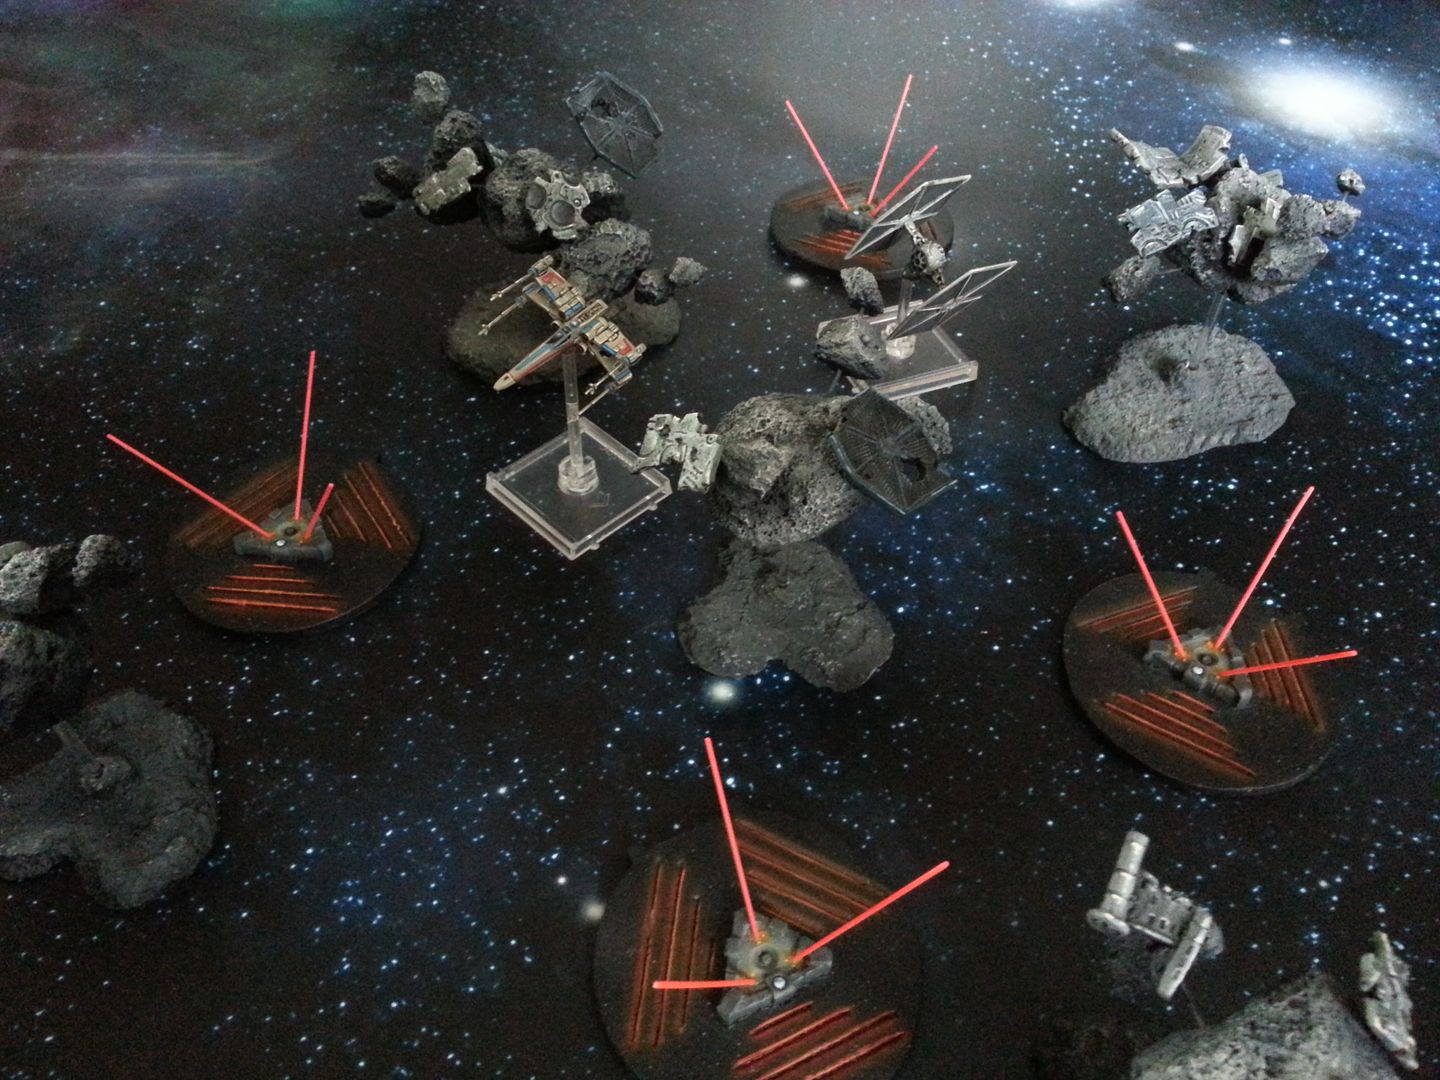
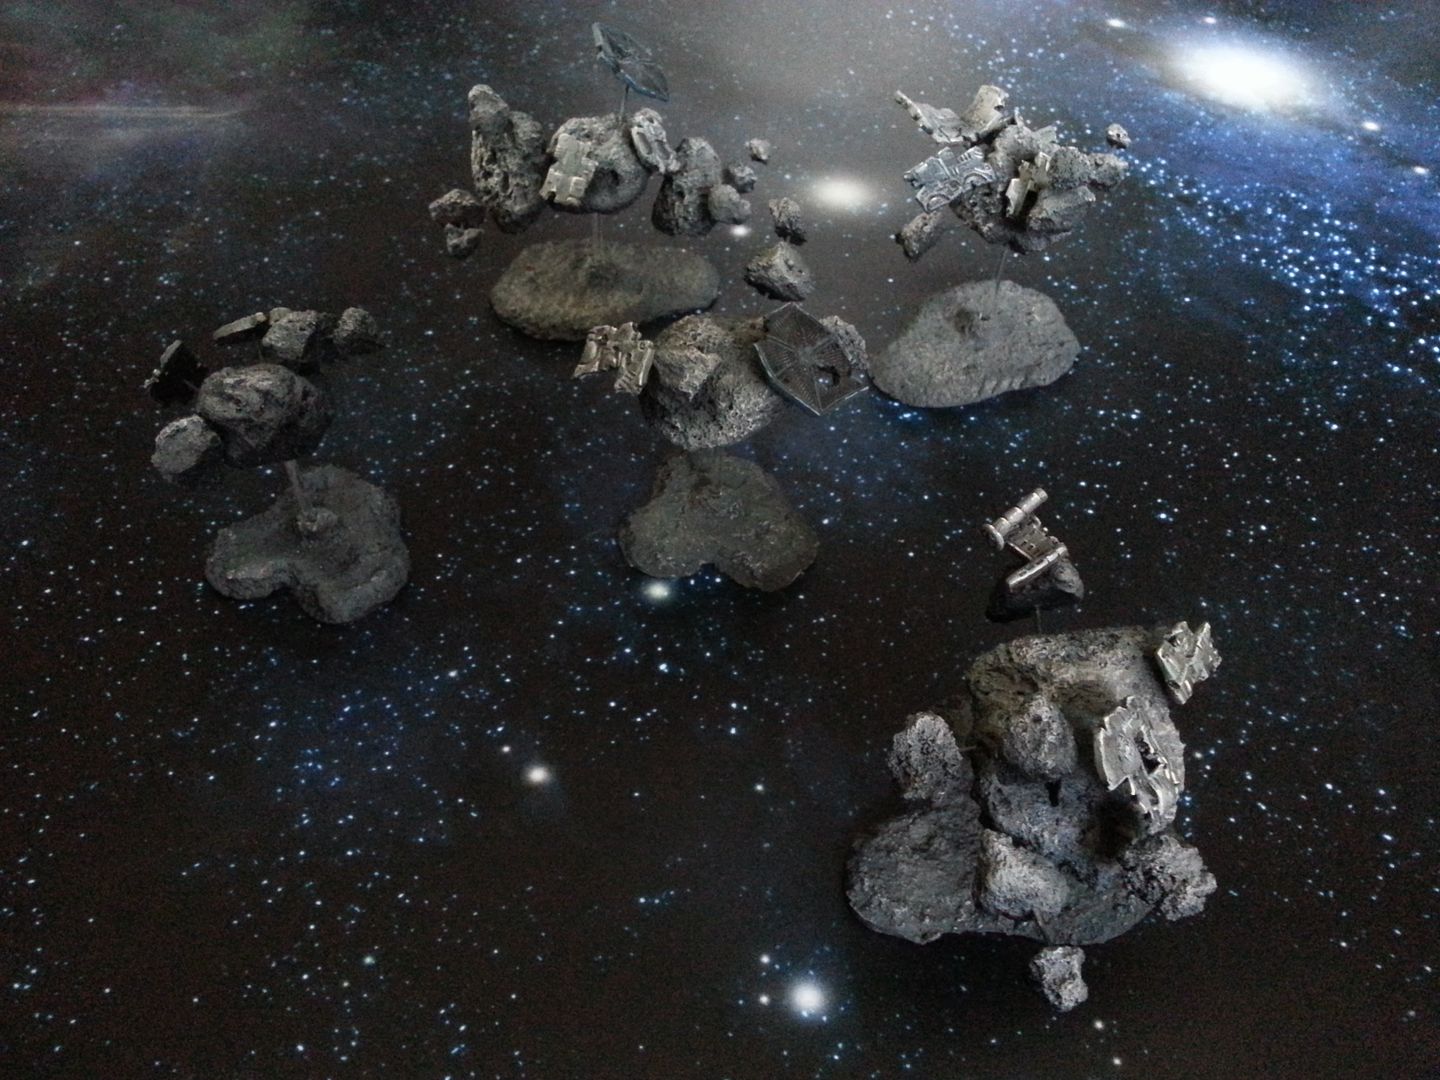
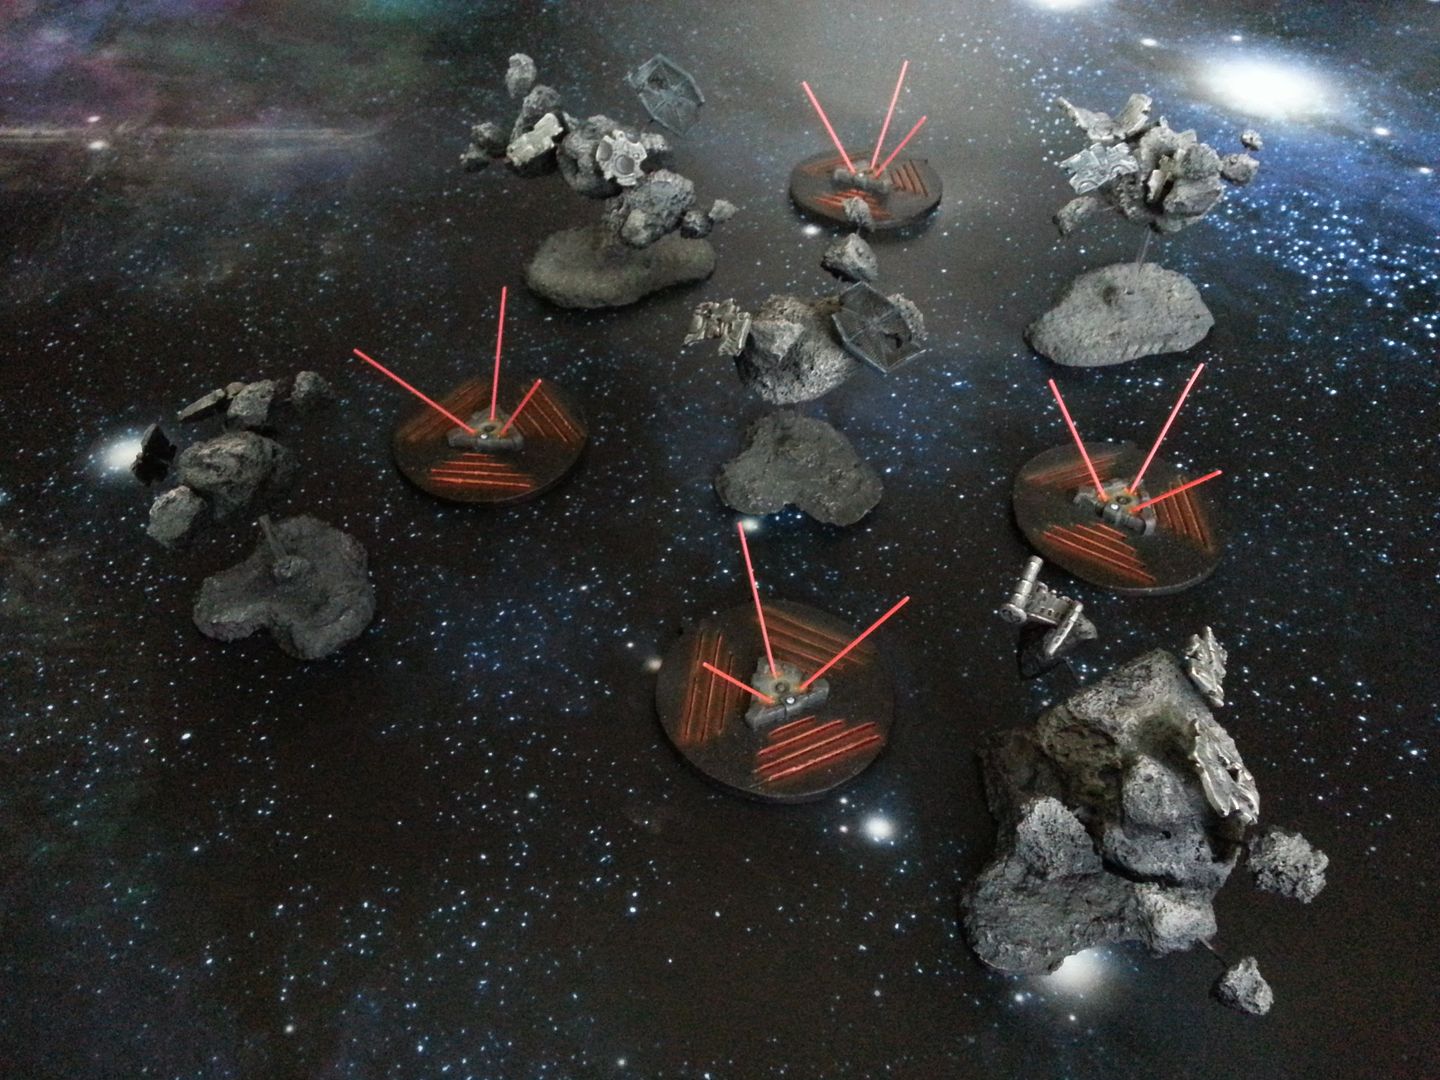
Ever wondered why there is so much debris in space???

mines11_zps14d5b491.jpg

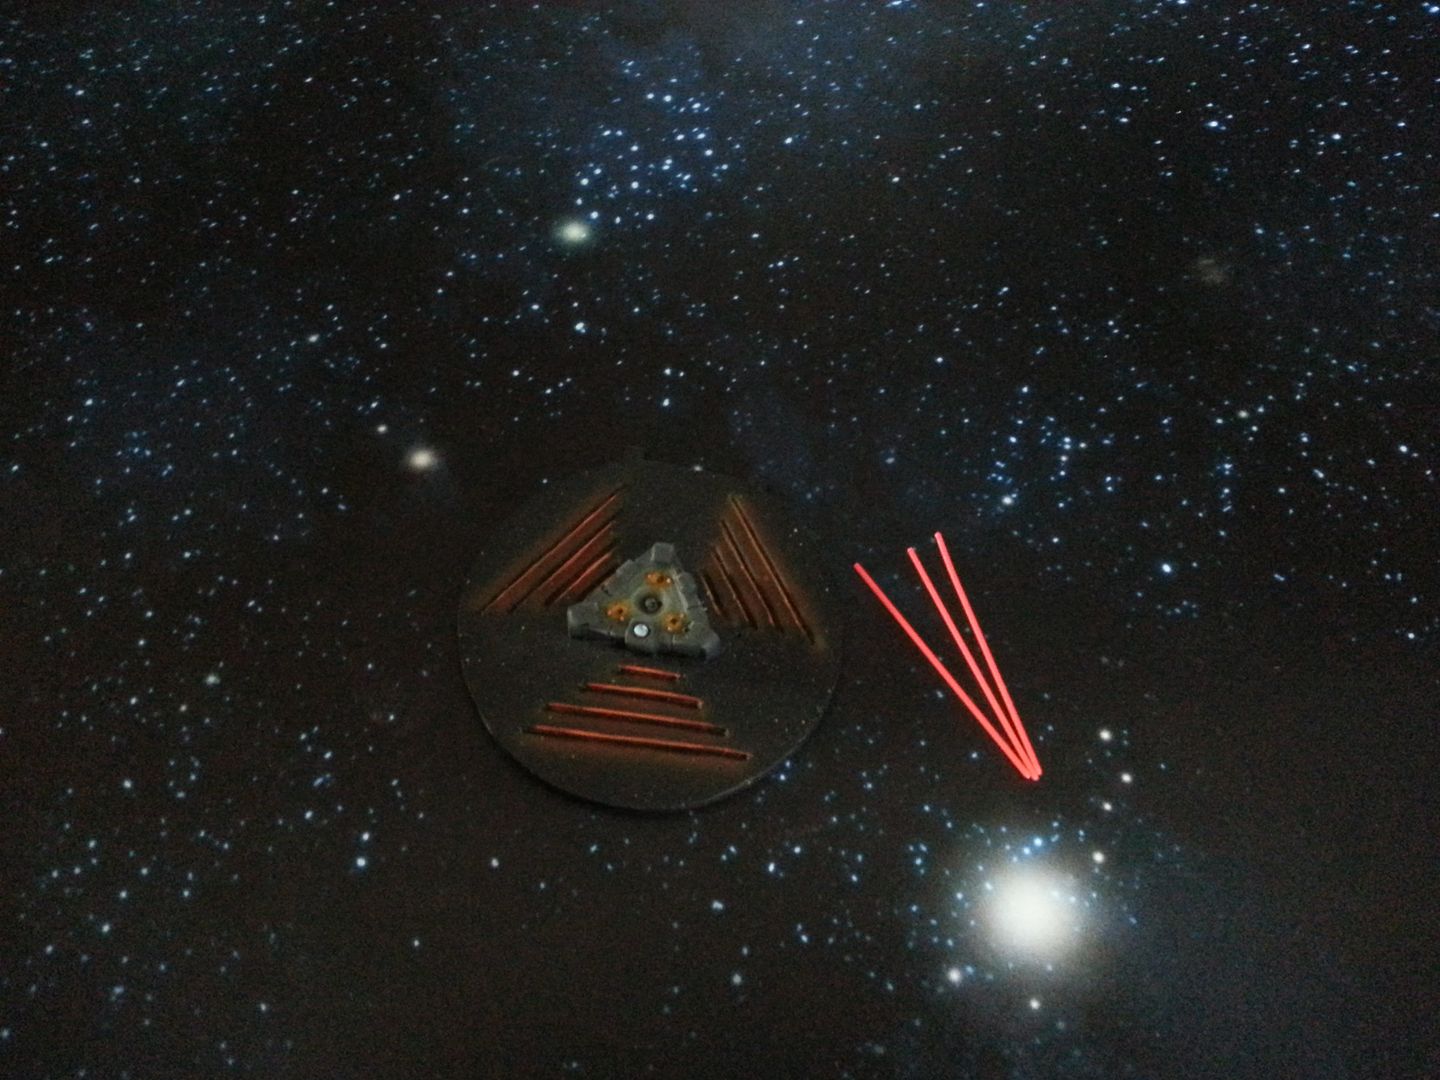
pesky space mines! that's why!

mines12_zps3c24e024.jpg

As if huge rocks in your way wasn't enough!

mines13_zps1c23b494.jpg

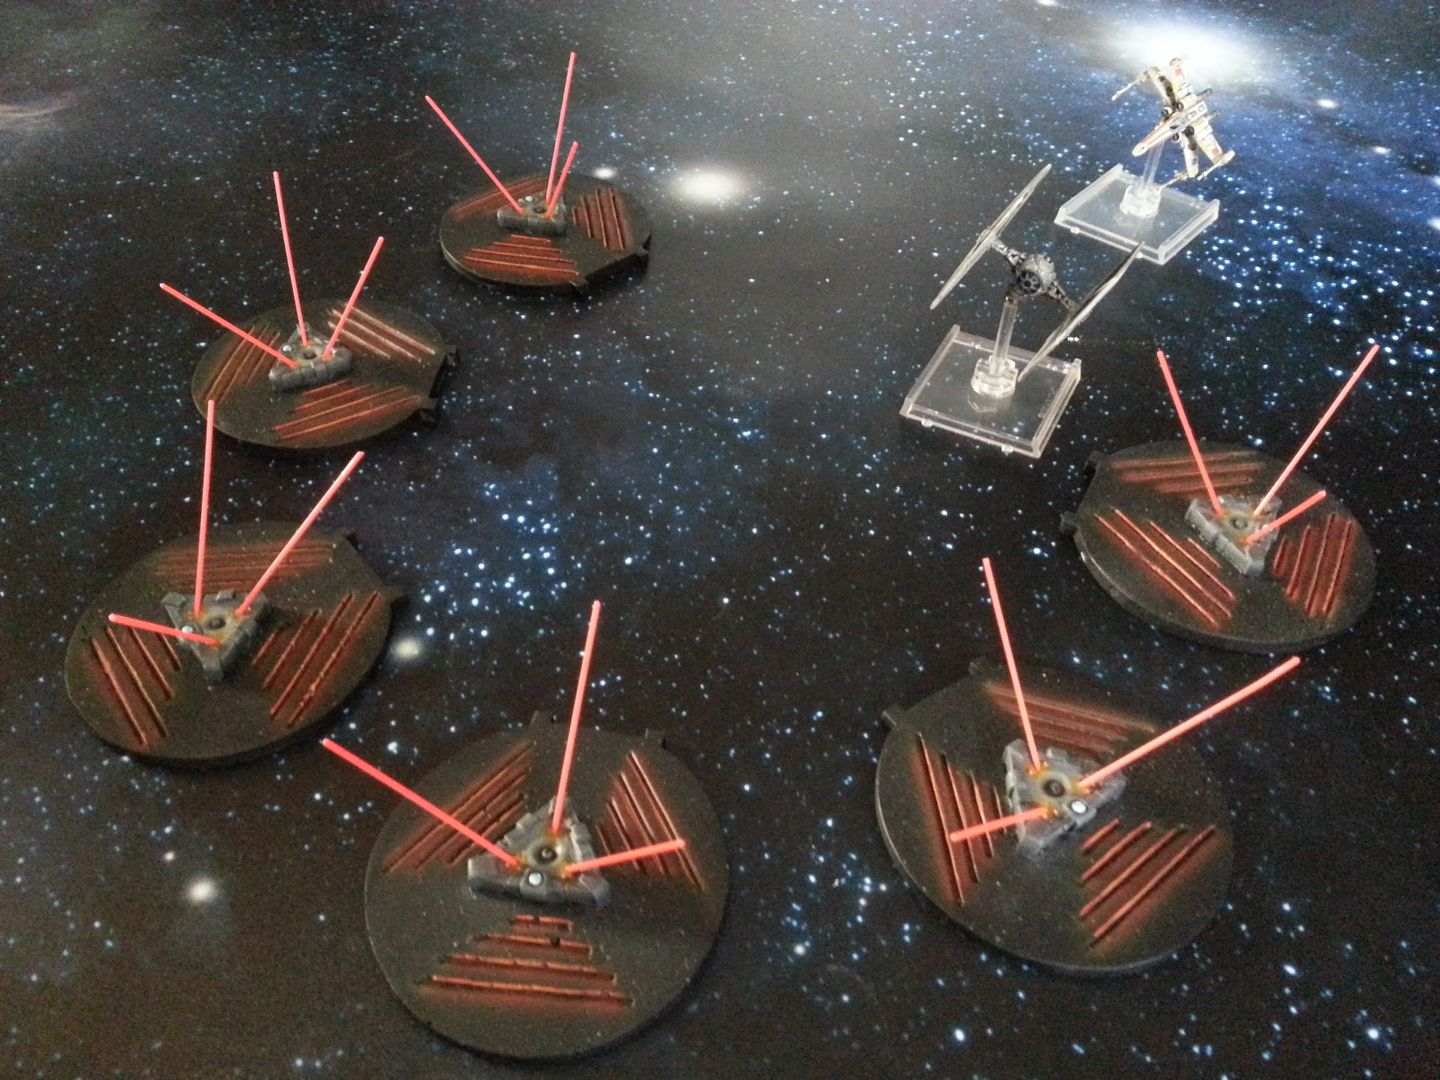
Wall of Death!

mines16_zpsfe73ee46.jpg

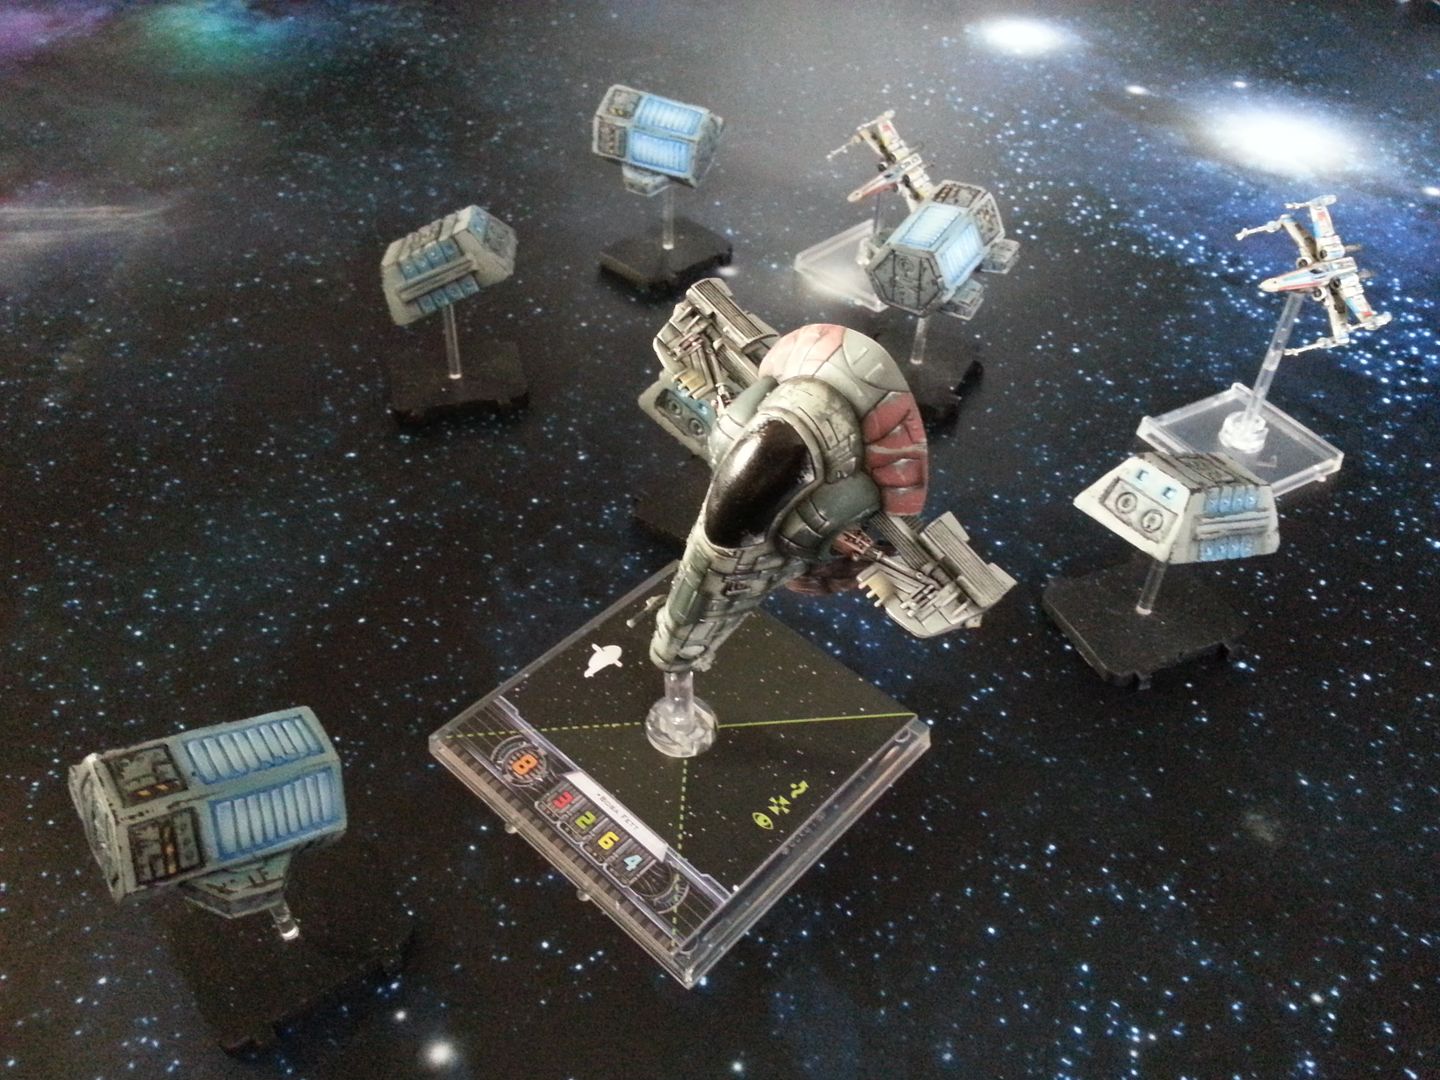
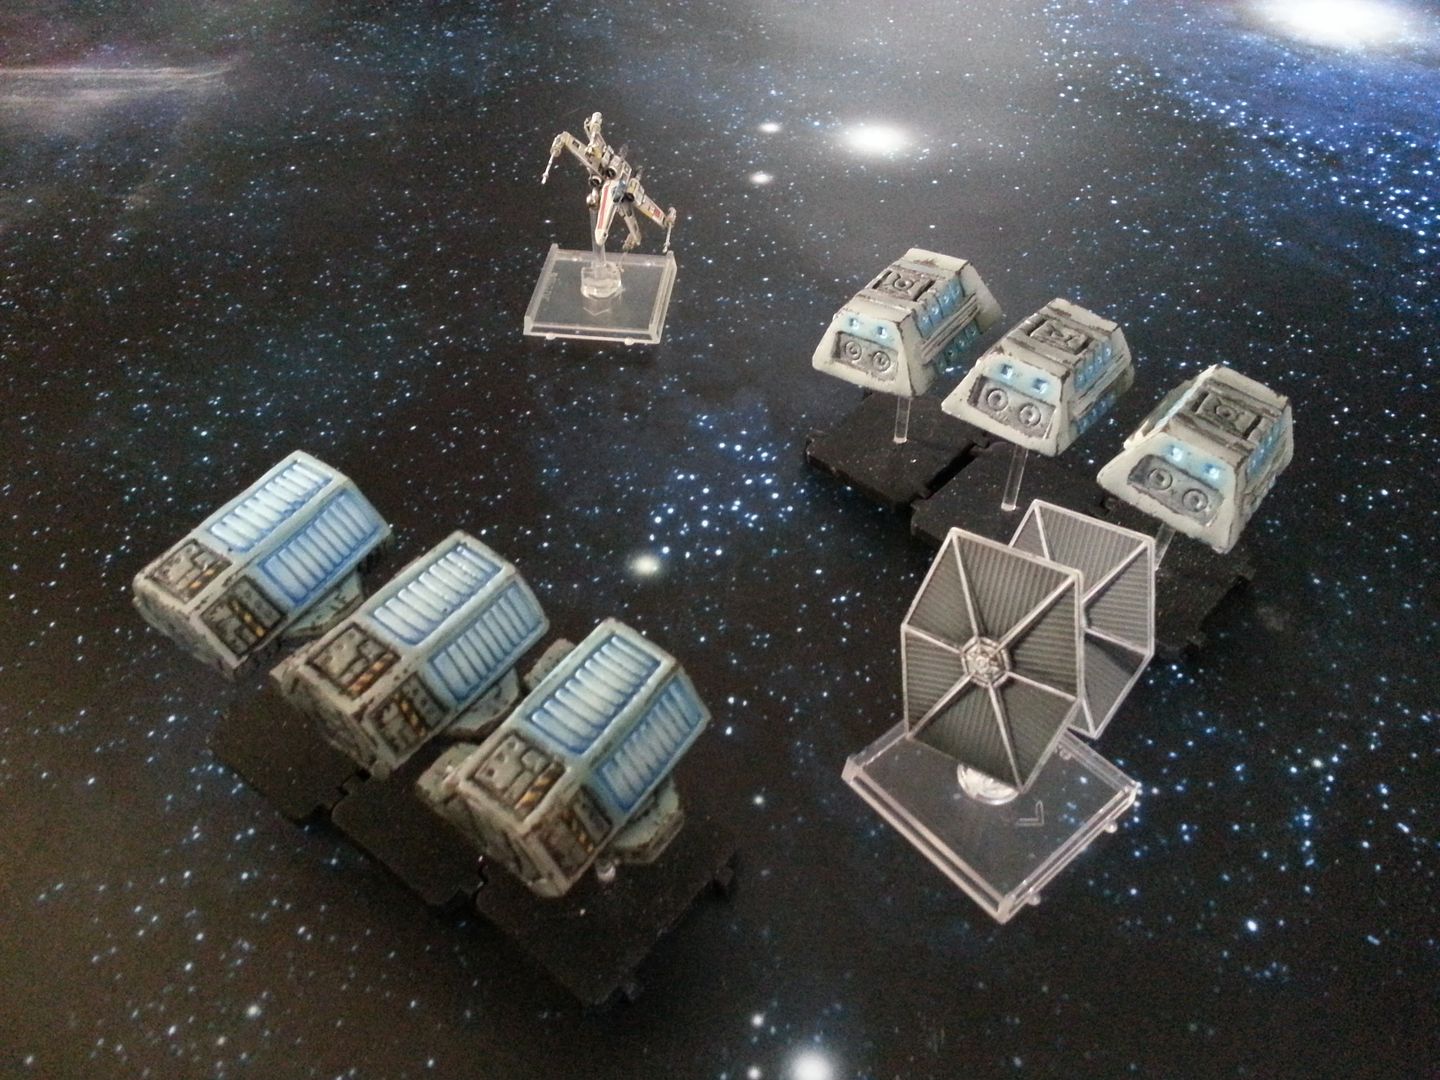
Also made up some cargo containers

containers1_zps6a162f47.jpg

containers2_zps9d4eadfc.jpg

While they tend not to be on the board long i decided to make up the seismic charges and proton bombs too, they can make nice objectives in home made scenarios

bombs3_zps9adb6017.jpg

bombs2_zps3de2e7f2.jpg

I have kept everything within the dimensions of the original tokens

mines10_zpsd523ec6b.jpg

The mine 'lasers' can be removed for storage, we play a fun house rule that if you accidentally knock a beam out, your ships takes the damage...careful clumsy!

mines15_zpse8a03be7.jpg

Far away and in normal lighting it wasn't too bad, but Jebus hit it right where I was thinking as well. Just looked .. too much. so it's all black now lol.

Thanks guys, I will repaint it, and not sure how I'll do it this time, maybe give it the TIE fighter grey and the cloak effect again and see how it comes out. Then some stars by hand.
Or get an old toothbrush with stiff bristles dab in paint and run your finger along the bristles it will give a natural spread on a black surface as it sprays, experiment on black paper to find the optimal range for you.
Edited by oneway

Hi. I just finished customizing my first batch of miniatures in, well... ever. (Which is kinda obvious. :P ) Behold the "Badly applied Vallejo Sky Blue Squadron". The name just rolls of the tongue, doesn't it?

15451832492_1f870e2aab_k.jpg

15429108626_1ffafe7867_k.jpg

15451831762_bfbfb40710_h.jpg

15452042752_8c3558ee1d_b.jpg

15265688910_db430d7613_b.jpg

15265623569_41f1ccf96b_b.jpg

15449232051_7e7cffce27_b.jpg

15452042082_f8b4bc5336_b.jpg

15265688090_91b9a78f15_b.jpg

Edited by Polda

Over the last couple of weeks I've done my first repaints. I had a lot of fun doing them!

I put some details in a separate thread , but wanted to make my contribution to the big RCSB thread. Some of you guys are really talented. +1 for a subforum.

pic2261729_md.jpg pic2261738_md.jpg pic2261734_md.jpg pic2261736_md.jpg

That blue squadron is EPIC!

I really like the repositioning on the HWK and the overall shade of it.

That blue squadron is EPIC!

I really like the repositioning on the HWK and the overall shade of it.

Indeed! I also liked it very much!

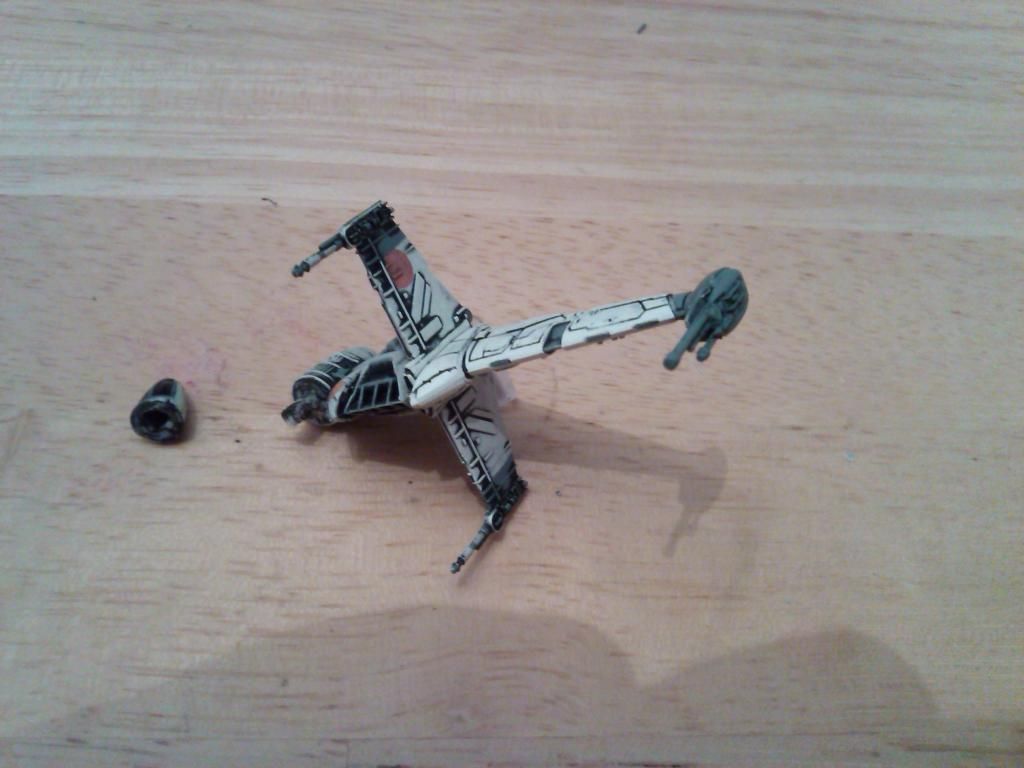
REGARDING B-WINGS

Do you guys know if the cockpit comes out easyly or should I saw it in order to make them rotatable? Any hints or tips upon that?

Thanks for the help, guys

Really sharp scalpel blade and push down really slowly to make sure you get the cut nice and straight.

I think most of us have cut them, but I do remember someone mentioning that they got the cockpit off by breaking the glue and sliding it off. Only on one though, if I remember correctly.

I did 1 of my 4, and have 3 of 4 that rotate on the stand as well.

Edit

I used a saw, a really thin bladed one, but I had wiggled the cockpit back a little with a xacto knife.

Edited by oneway

The cockpit, like the mounting peg, is usually very hard to get loose. Slowly cutting around the cockpit with a sharp blade is the best way if you wish to avoid doing any damage. A razor saw is more efficient but you almost have to expect some damage.

The cockpit, like the mounting peg, is usually very hard to get loose. Slowly cutting around the cockpit with a sharp blade is the best way if you wish to avoid doing any damage. A razor saw is more efficient but you almost have to expect some damage.

I'll agree here. The only reason I had no real damage was due to my maneuvering of the parts before sawing. Though the minor bit that could be sawed through and removed is minor, and probably not noticable unless looked at closely, or a B wing fanatic that knows them well by sight lol

Wow! Thanks a lot, guys! I mean it! :D

Has anyone tried using hot water or some kind of product to unglue the cockpit? I'm afraid to use blades and saws becaus I'm not very steady... lol.

I haven't tried that, nor have I heard anyone doing it. I think the guy that 'broke' the glue, used pliers, and a padding around it. I believe he turned it slowly, and then back and forth until he heard it crack. I'm almost afraid to post this, as I don't want you brealing or damaging the model and getting mad at me. lol

All I can say is be gentle and careful, use firm grip and stop frequently to check progress.

When I did mine I found where the parts meet and slid my knife in the gap, as I worked around and down the cockpit part slid down slightly so when I sawed it off I didn't do any further damage. I still got some excessive wear on the cockpit part, but it's barely noticeable .

I guess see what works and go slow and be patient. that's about all I can say.

Good luck, I've only done one because I don't play Rebels often lol

Edit

Maybe if you wanna try the hot water. A trick I used for my Wings of Glory planes might help. When doing repaints on those it's best to take the top wing off, and several of us used this technique. Put the model in the freezer over night, or longer. Then before removing it from there get yourself a bowl of really hot water, then grab the model and drop it in, the shock may break the glue and with some effort you might be able to use a light grip with pliers (And a padding to protect the part) and use a twist and rock motion..

just an idea.. maybe it works.. good luck, I may try that myself.. lol

Edited by oneway

I haven't tried that, nor have I heard anyone doing it. I think the guy that 'broke' the glue, used pliers, and a padding around it. I believe he turned it slowly, and then back and forth until he heard it crack. I'm almost afraid to post this, as I don't want you brealing or damaging the model and getting mad at me. lol

All I can say is be gentle and careful, use firm grip and stop frequently to check progress.

When I did mine I found where the parts meet and slid my knife in the gap, as I worked around and down the cockpit part slid down slightly so when I sawed it off I didn't do any further damage. I still got some excessive wear on the cockpit part, but it's barely noticeable .

I guess see what works and go slow and be patient. that's about all I can say.

Good luck, I've only done one because I don't play Rebels often lol

Edit

Maybe if you wanna try the hot water. A trick I used for my Wings of Glory planes might help. When doing repaints on those it's best to take the top wing off, and several of us used this technique. Put the model in the freezer over night, or longer. Then before removing it from there get yourself a bowl of really hot water, then grab the model and drop it in, the shock may break the glue and with some effort you might be able to use a light grip with pliers (And a padding to protect the part) and use a twist and rock motion..

just an idea.. maybe it works.. good luck, I may try that myself.. lol

Oneway do you know the rage that's coming all those eager to convert will be demanding replacement models after they muck it up and you'll get blamed for the price hike! :P

It's funny I've done conversions on plastic and metal minis before I painted them with no hesitation but I'm really reluctant to do it when the models repainted even though I have the experience I just can't.

Really do admire some of the work shown here though especially the led lighting on some ships.

Haha model at thy own risk child... hahahahahahahaha

Hey, all I can do is give advice, and then it's up to the individual to make it happen.. lol.. I have 3 models I have decided may never be useful in a game lol.. but I did it and I can live with it. One may become debris,

I haven't tried that, nor have I heard anyone doing it. I think the guy that 'broke' the glue, used pliers, and a padding around it. I believe he turned it slowly, and then back and forth until he heard it crack. I'm almost afraid to post this, as I don't want you brealing or damaging the model and getting mad at me. lol

All I can say is be gentle and careful, use firm grip and stop frequently to check progress.

When I did mine I found where the parts meet and slid my knife in the gap, as I worked around and down the cockpit part slid down slightly so when I sawed it off I didn't do any further damage. I still got some excessive wear on the cockpit part, but it's barely noticeable .

I guess see what works and go slow and be patient. that's about all I can say.

Good luck, I've only done one because I don't play Rebels often lol

Edit

Maybe if you wanna try the hot water. A trick I used for my Wings of Glory planes might help. When doing repaints on those it's best to take the top wing off, and several of us used this technique. Put the model in the freezer over night, or longer. Then before removing it from there get yourself a bowl of really hot water, then grab the model and drop it in, the shock may break the glue and with some effort you might be able to use a light grip with pliers (And a padding to protect the part) and use a twist and rock motion..

just an idea.. maybe it works.. good luck, I may try that myself.. lol

I'm gonna try that. Thanks for the tip. If it works (or not), I'll post it here... lol... as soon as my new batch of ships arrives, I'll take my old B-wings and try the experiments :D

Depending on the glue type (CA?), just freezing it may be enough to break the bond when stressed. Its how I broke apart a Y-Wing for a conversion.

But as others have said, go slow and easy.

I wrapped the cockpit in several layers of masking tape and then with a tissue. I then gripped the cockpit with a pair of pliers and twisted off the cockpit, using a gentle rotating action. This broke the pin holding the cockpit in place.

how did you achieve this???

Glad you like the HWK mod! Here are some alternatives I tried after.. snapping the cannon of by accident trying to turn it a bit

The fins had to go because if you put the cannon on top - you'd shoot them off.

I really wanted the narrow end facing forward but those bits look awful.

15295295377_dde6b92023_k.jpg

15295132820_1debb4e9a2_k.jpg

15481836535_84e2b9facc_k.jpg

15294914959_1967734c1f_k.jpg

15295079530_263741bd42_k.jpg

15458700526_f07efc1718_k.jpg

In other news - I made the Falcon fit in better with the other kids.

15295286420_8687489f9b_k.jpg

Edited by Polda

Knave Squadron E-Wing:

pic2265805_md.jpg

pic2265806_md.jpg