Hey guys,
Inspired by Rodent Master mind I wrote a blog article on how to paint the small imperal logo and how I like to paint the blood stripes.
I could only find a tutorial by Rodent how to paint the larger Imperial logo on the full wing of the TIE-Fighter. The small logo displayed on the wing on one of his fighters caught my attention... I had to experiment a couple of times to get it right.
I hope some of you can benefit from my experiments.
If you like this article please visit my blog: http://airbrushandanalog.blogspot.nl/
You will need only one color of paint. This could be white, off-white or a very light grey. Whatever you like the most or what fits your paint scheme.
I began with the outer circle. This will mark the full location and size. I used the plastic rod to protect your brushes to "stamp" the location and used a brush to get a nice and even outer ring.
 Outer ring stamped and corrected
Outer ring stamped and corrected When your satisfied with the outer ring, paint two small lines. One at the top and one at the bottom. Make sure these are pointing towards the top and bottom of your ship. After that, while trying to keep the Space between them as even as possible, add four more lines, bringing the total to six.
 Divided the circle with small lines
 Connect the lines inside the ring by painting a hexagon.
 It's like connect the dots
It's like connect the dots At the corners of the hexagon, paint a square where the corner of the hexagon meets the line connecting it to the outer circle. I filled in the rest of the hexagon except for a small black dot in the middle.
 Already starting to look like we are getting there!
Already starting to look like we are getting there! Now draw small black lines from the black dot. You can make these lines a bit triangular shaped if you like, but at this scale lines look good enough in my opinion.
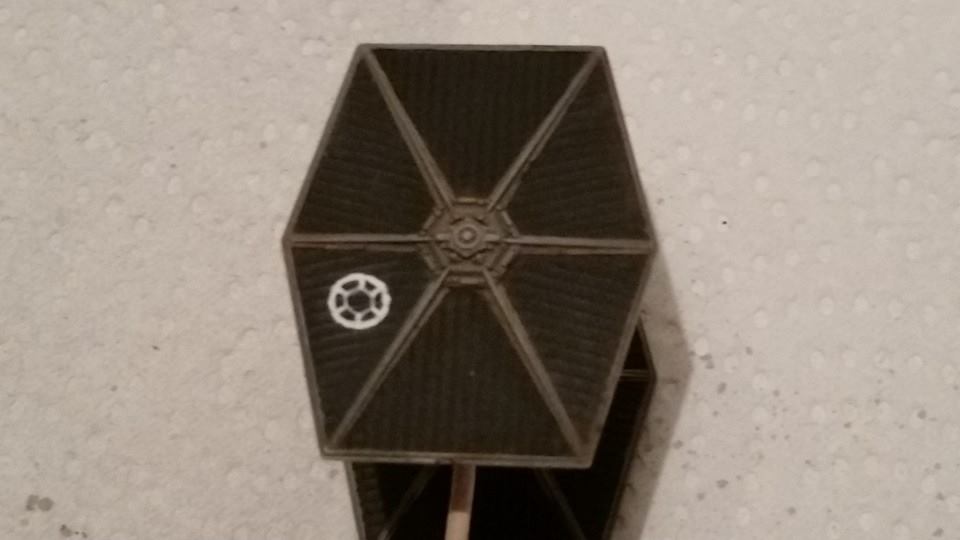
 Imperial logo is done!
Imperial logo is done! So on with the blood stripes. This is a visual introduced with the imperial aces. If I understood correctly imperial pilots are allowed to display these if they get ten kills. This means it is a nice way to decorate named pilots or veteran squadron leaders.
I started by masking the location of where I want to paint the stripes. Then, continuering with the weathered look, I choose to sponge on the paint.
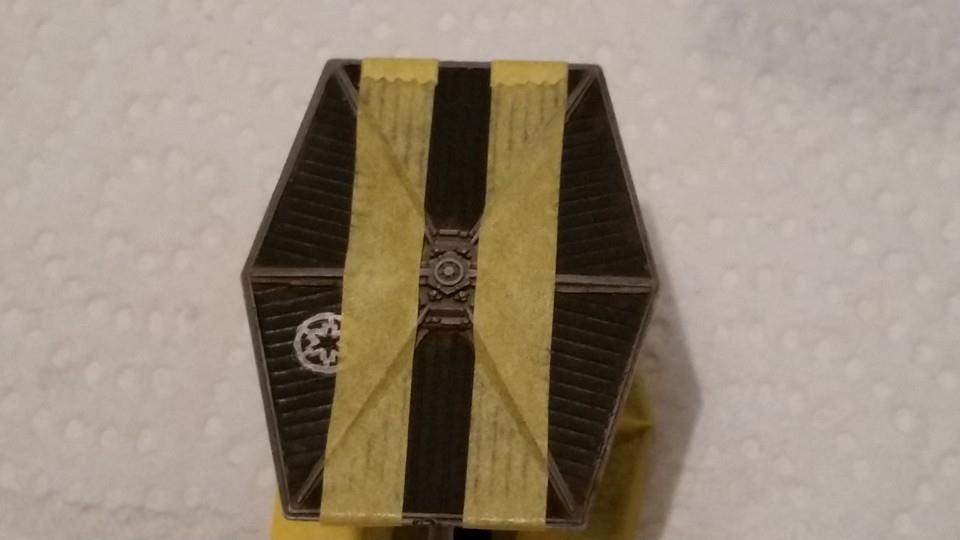 Tamiya Masking tape applied
Tamiya Masking tape applied For this, I tore of a piece of blister sponge, dipped it into my red paint, rubbed off the excess paint on a paper towel and applied it to the miniature. The masking prevents the paint from hitting spots I don't want to to get on.
 Blister sponge
 I mixed up a semi-dark red for the blood stripe
Blister sponge I mixed up a semi-dark red for the blood stripe Remove the masking tape and apply a thin layer of black wash.
 Final, finished result
Final, finished result Your done now! You could touch some spots up with black, white or red but that's basically how you paint the logo and the blood stripes. Now if you weathered your ship a little (I did!) you can use some black and orangey - brown washes or pigments to give the logo and the stripe the same treatment.