[Paintjob]The Phantom of the (Space) Opera

By MacrossVF1, in X-Wing

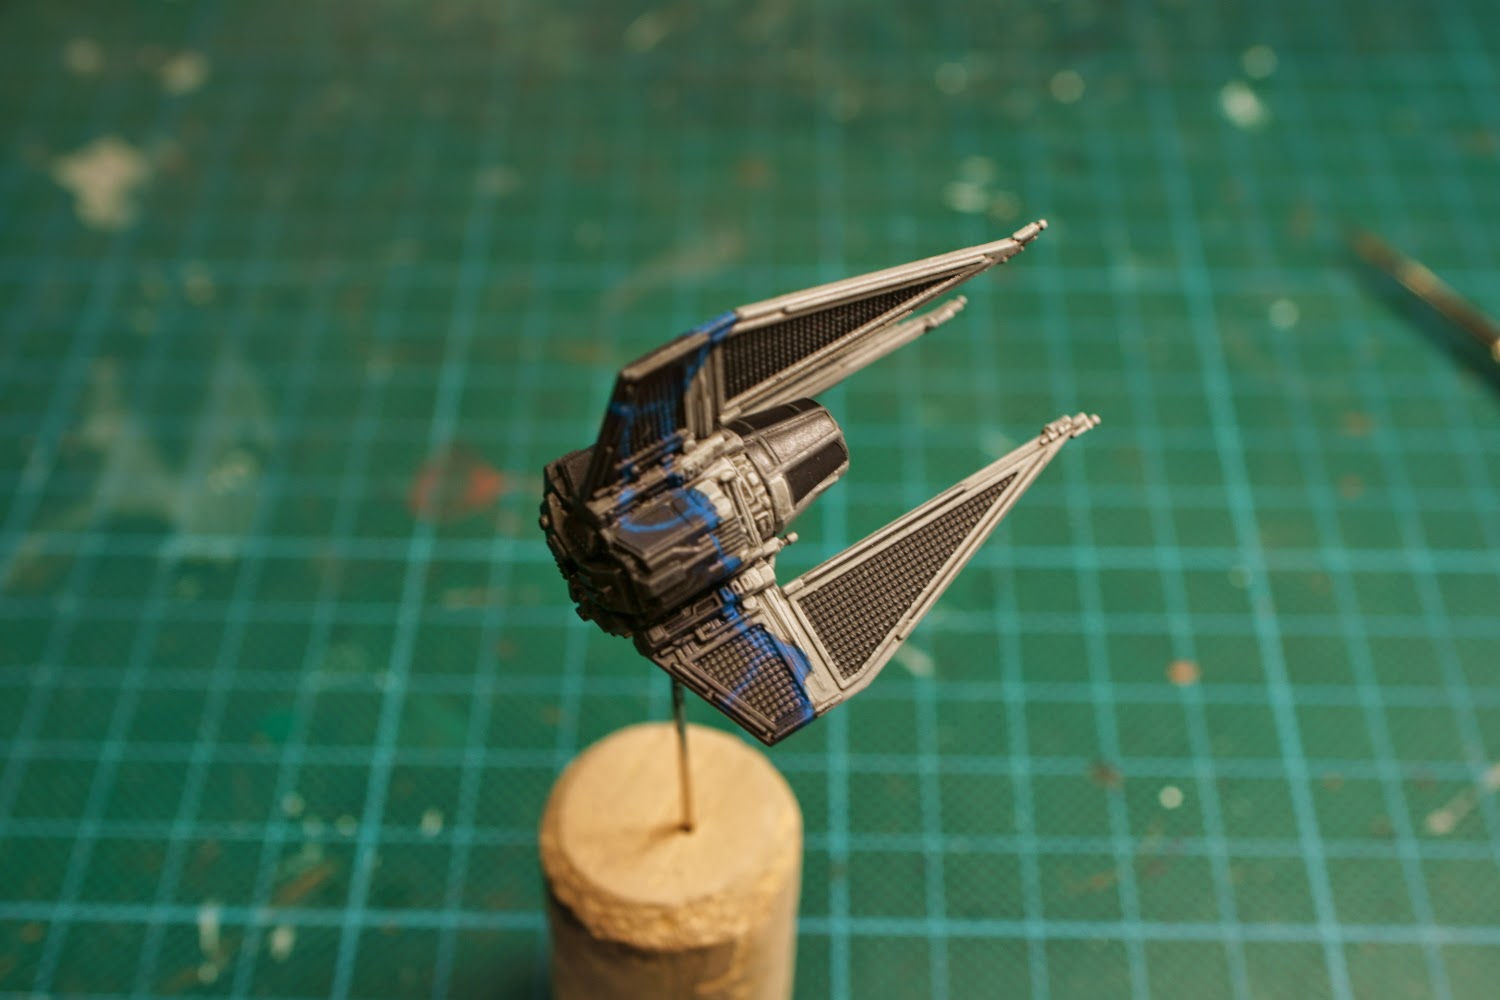
Another half-cloaked Phantom to show. The idea came from another forum user called Keffisch. As always this has been copied and pasted from my blog.

I was lucky enough to end up second at the Assault at Imdaar Alpha event and secured a TIE Phantom as a prize (my opponent chose the E-wing). The Phantom is damnably cool, both as a model and in terms of rules, but I couldn't very well leave it at that, now could I? Not after I had seen Keffisch's excellent Phantom. The credit (or is it perhaps blame?) for this project goes to him.

Phantom1.JPG

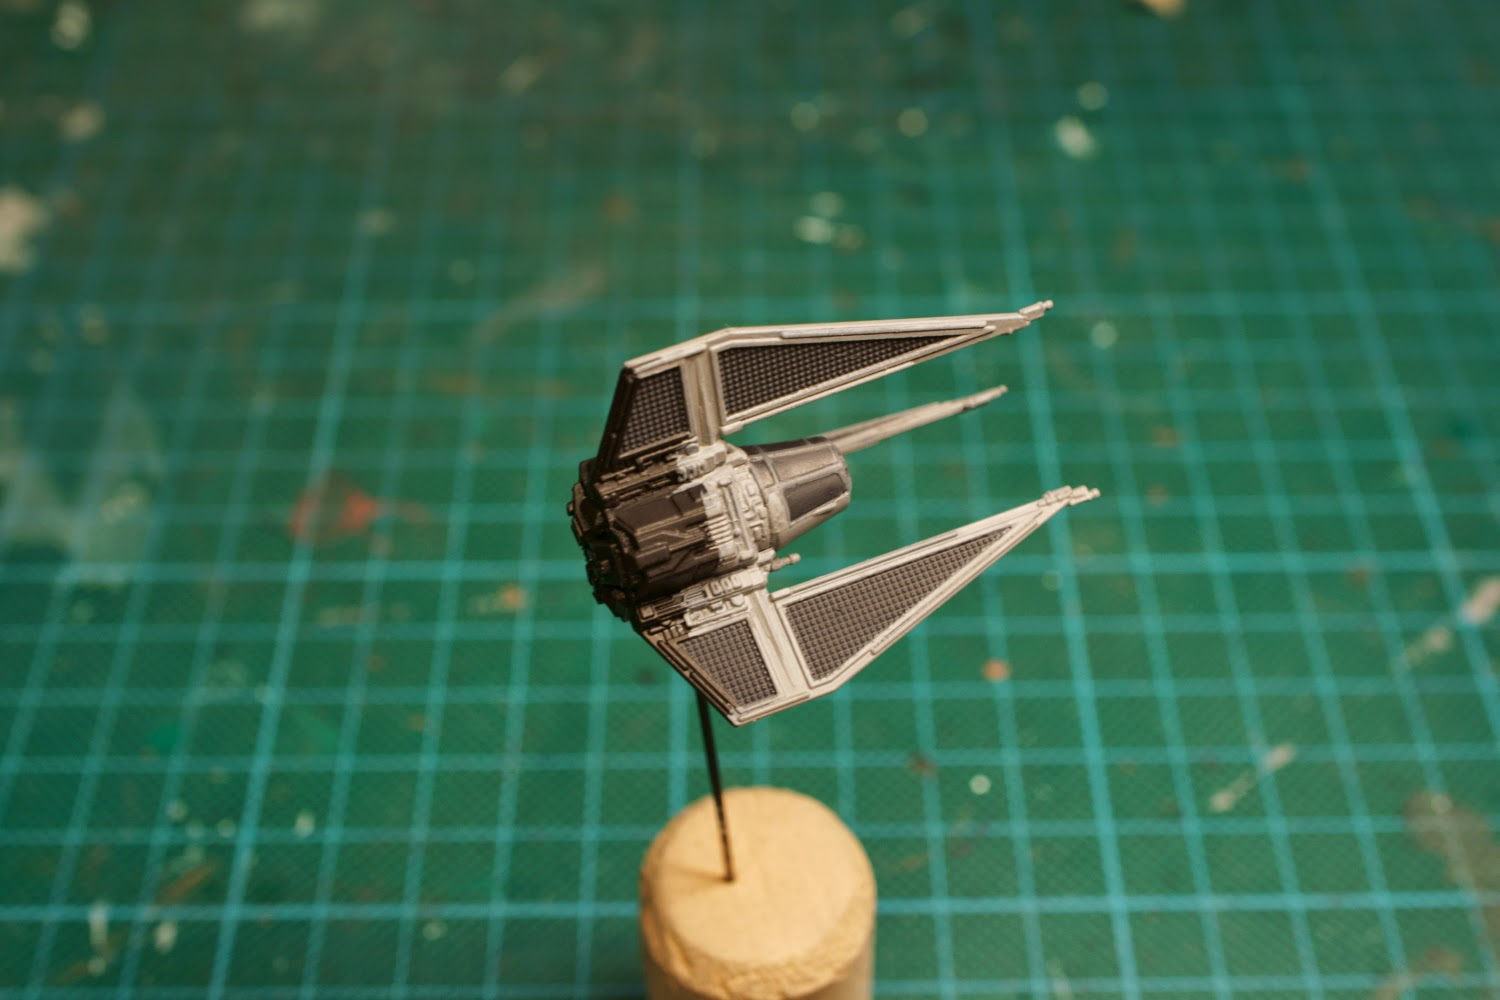
Unlike my other X-wing repaints, I didn't bother with stripping the paint this time. Removing the paint was fairly unnecessary to begin with, I was just keen to the see if it mattered. First I started with spraying black primer directly on the factory paint. This was followed by painting Vallejo German Grey on the cockpit windows and the solar panels. The cockpit struts was painted with a 1:1 mix of Vallejo Cold Grey and German Grey. Everything else was painted with Vallejo Stonewall Grey.

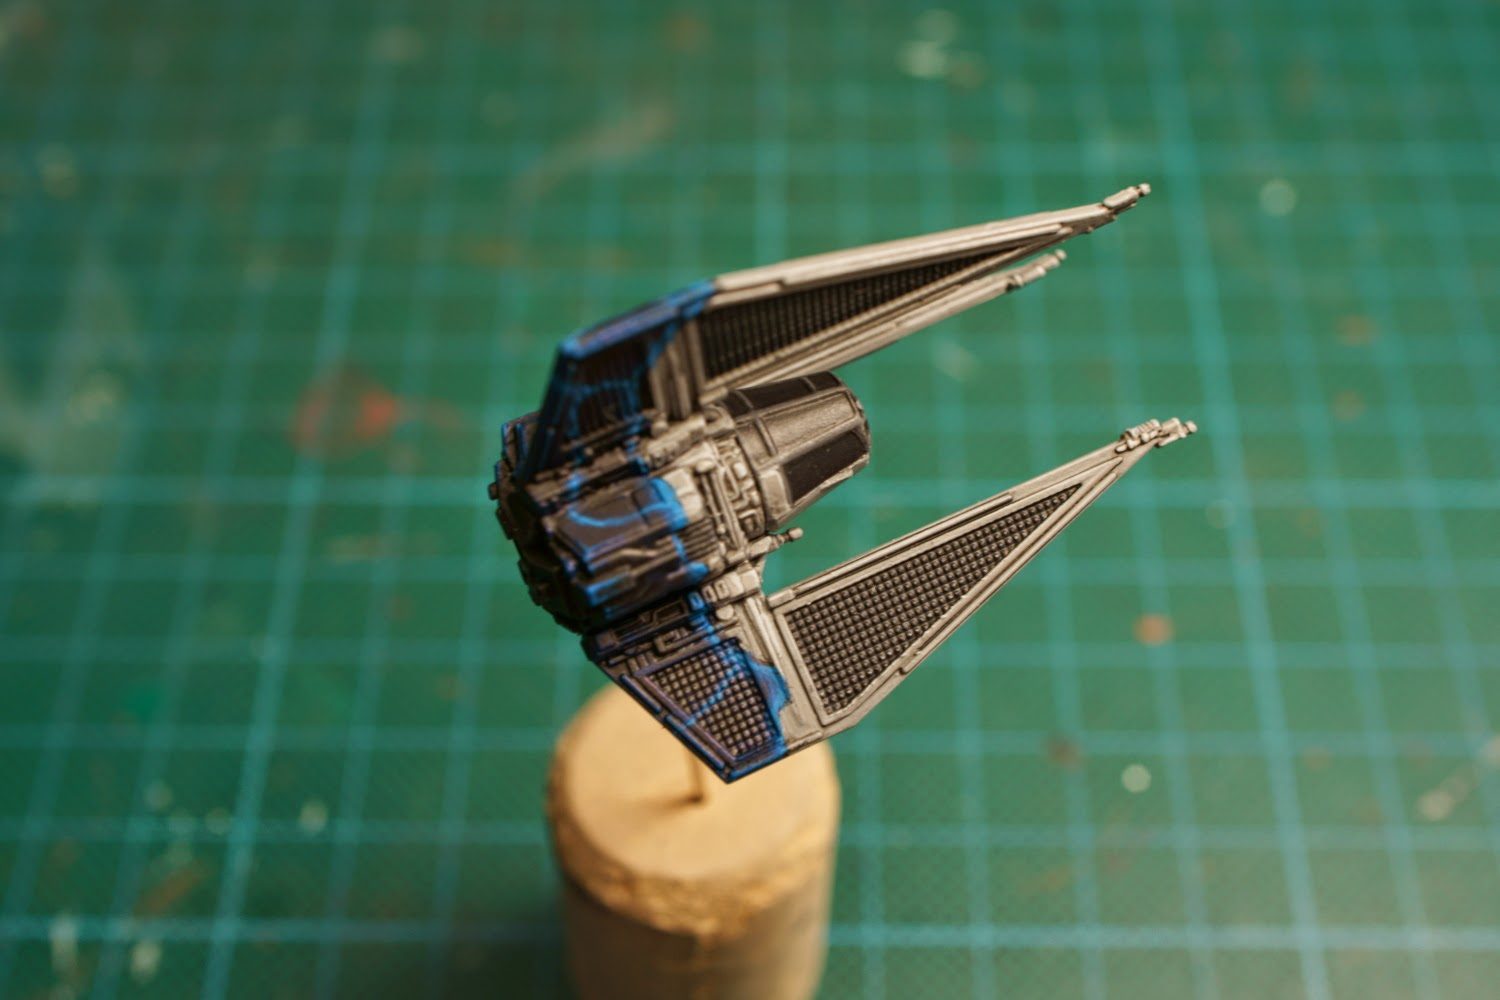
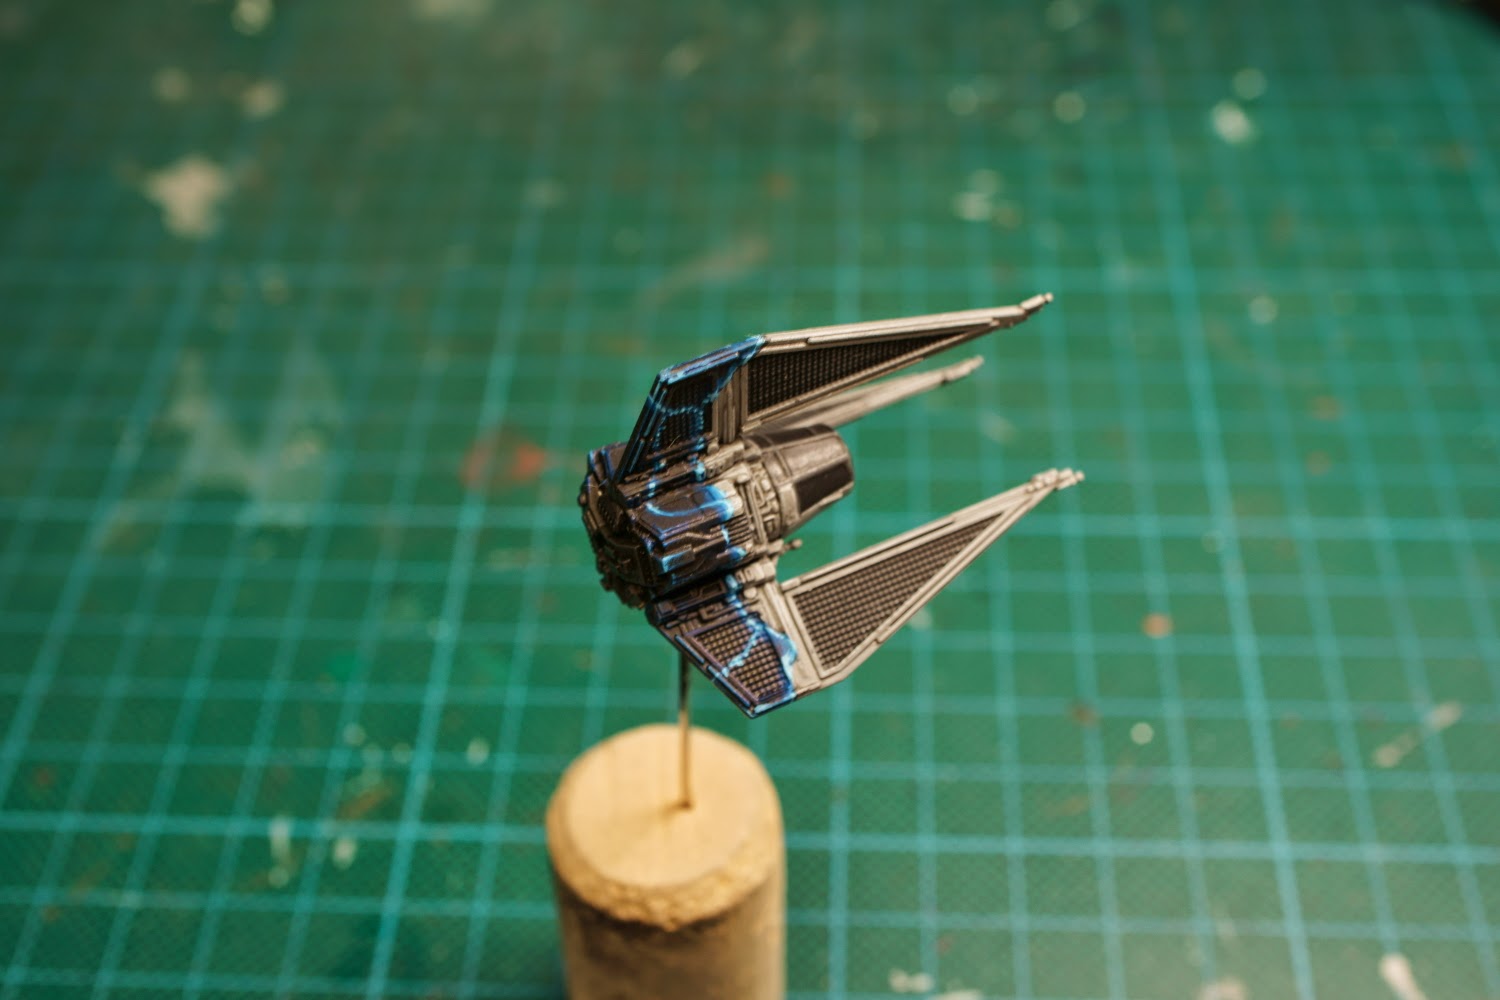
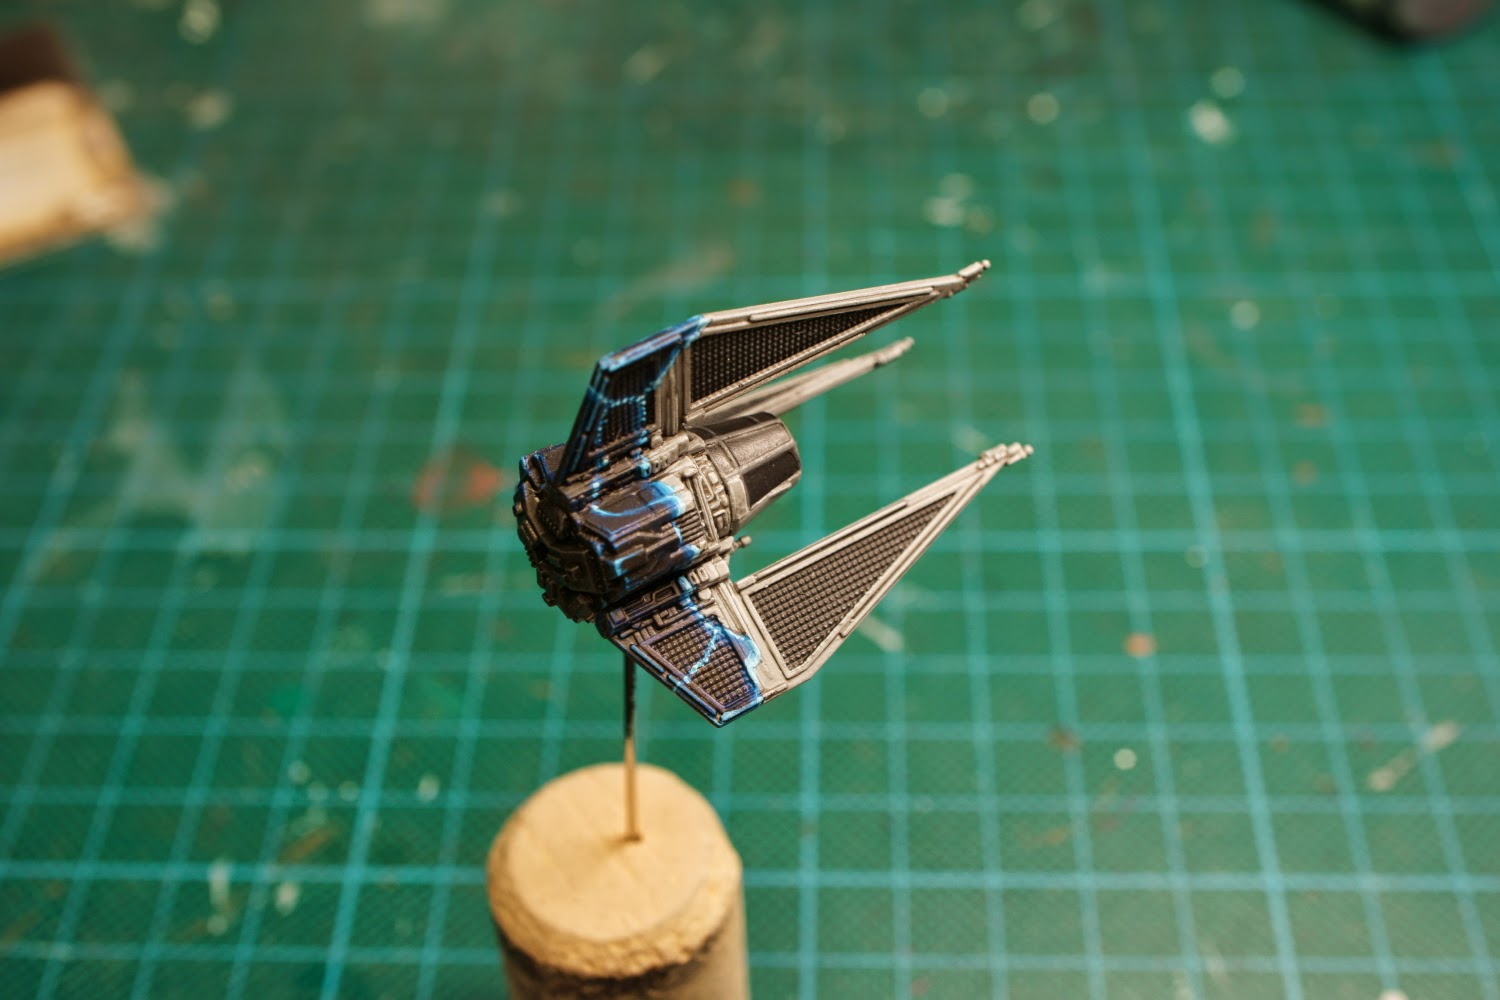
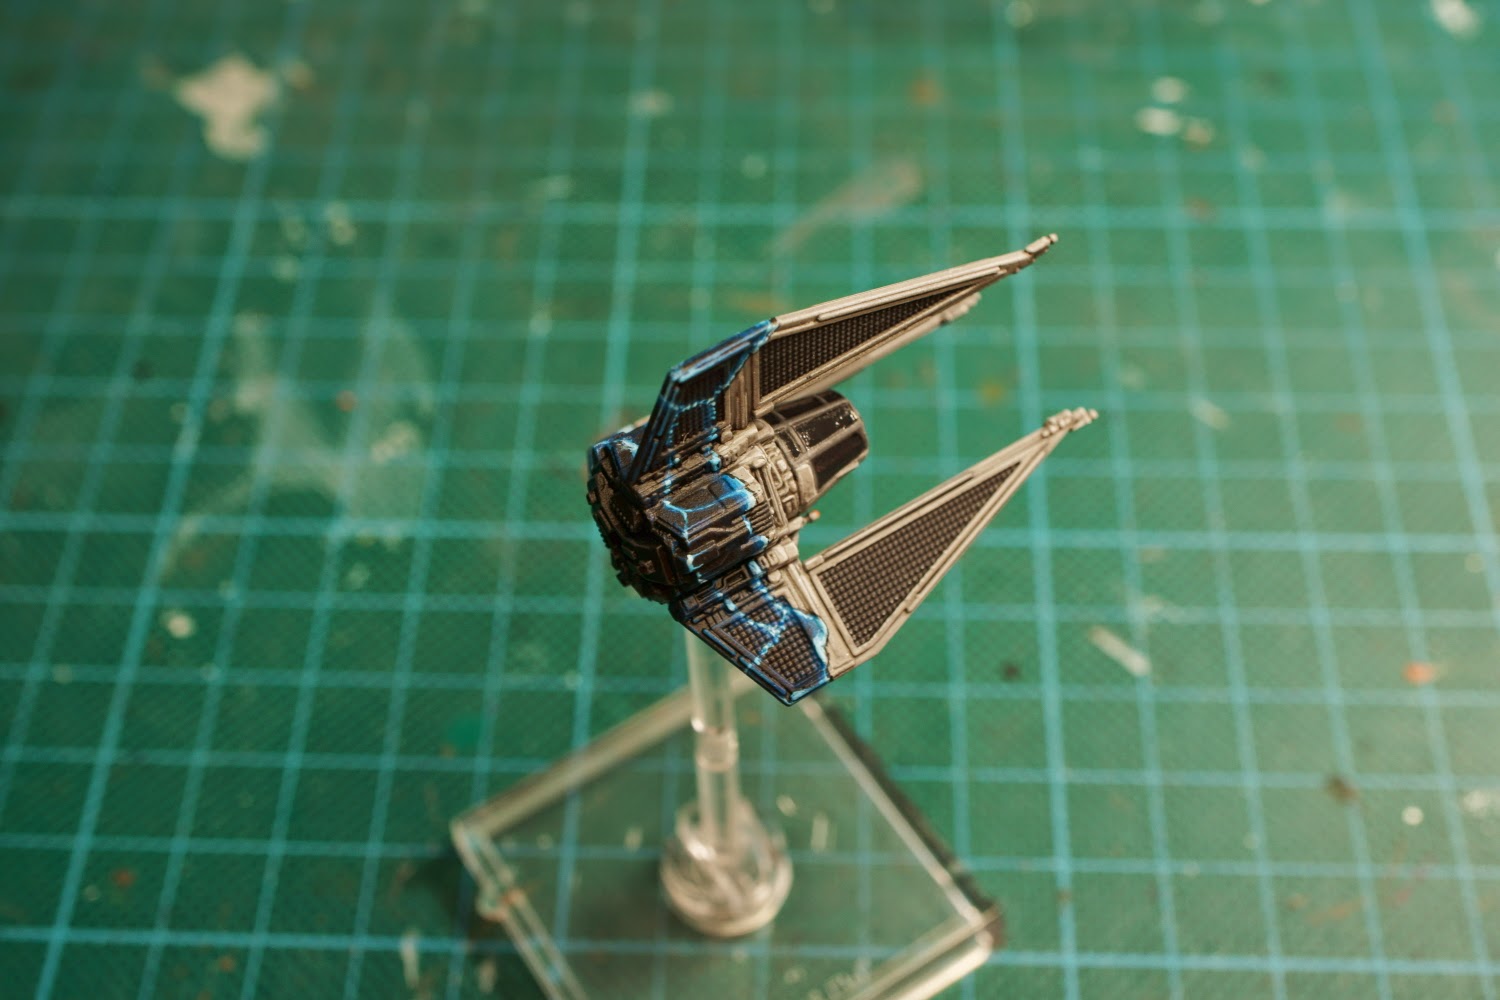
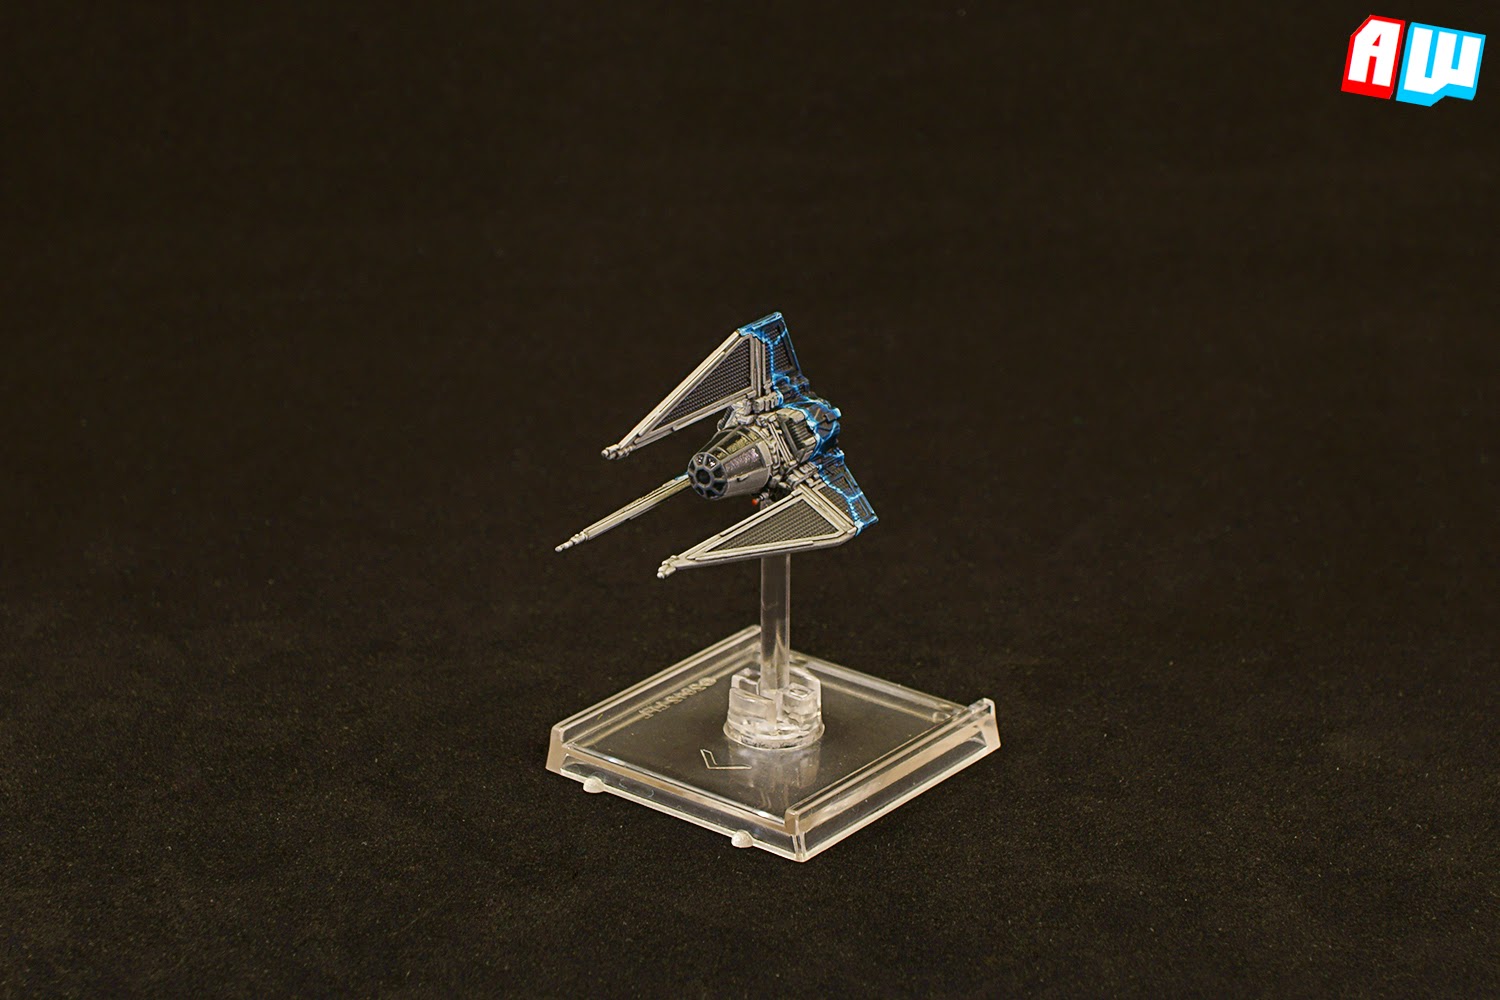
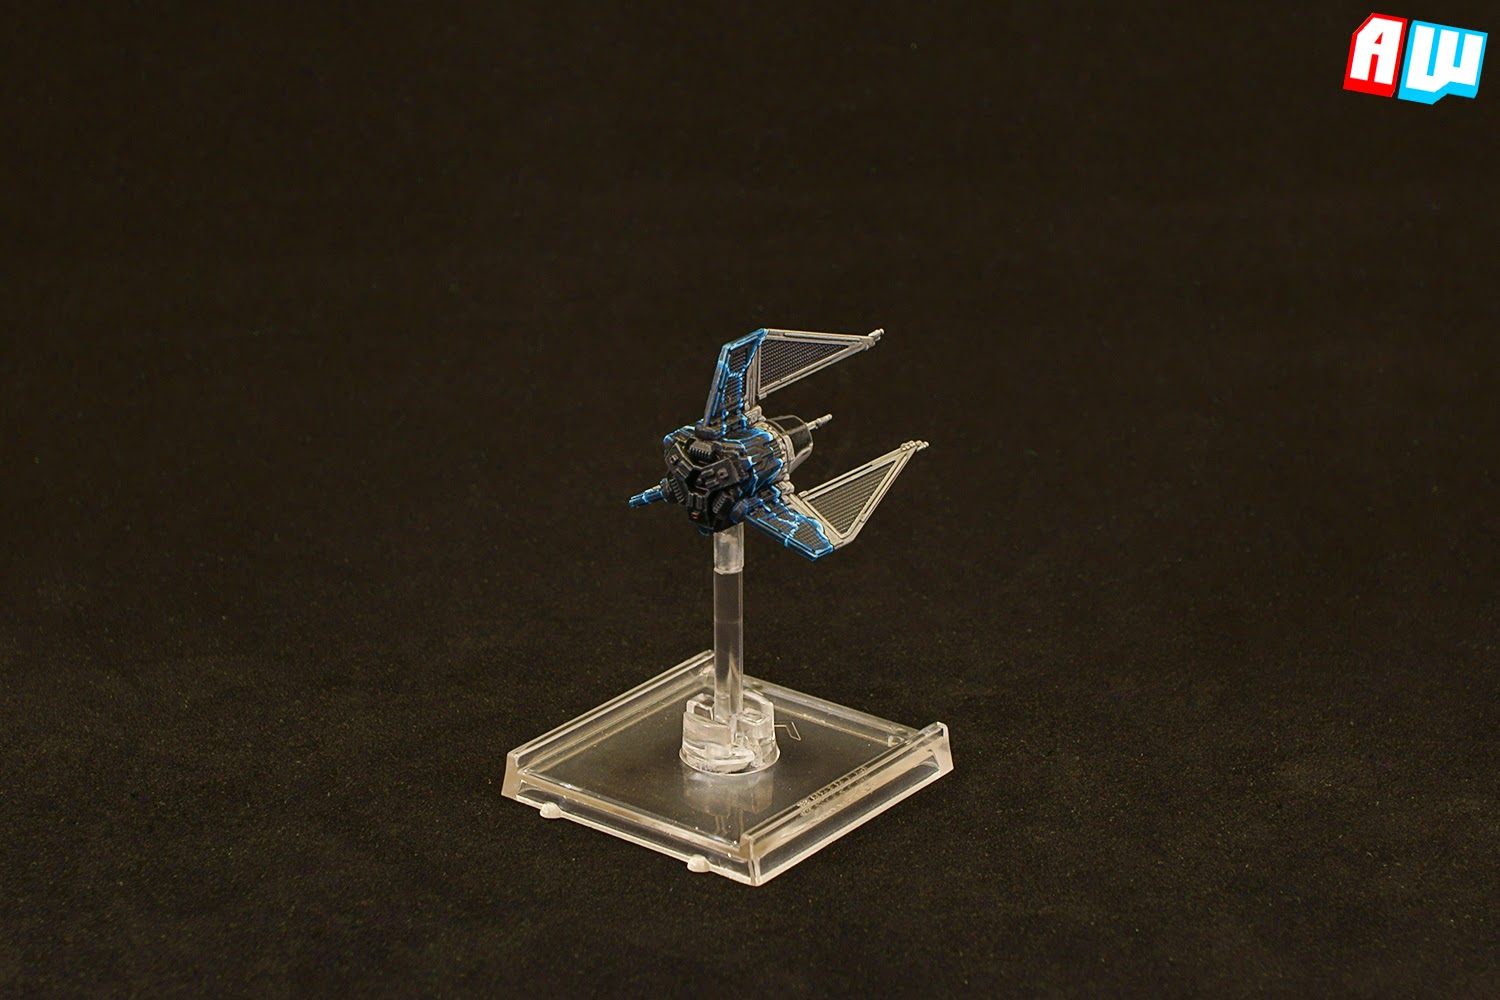
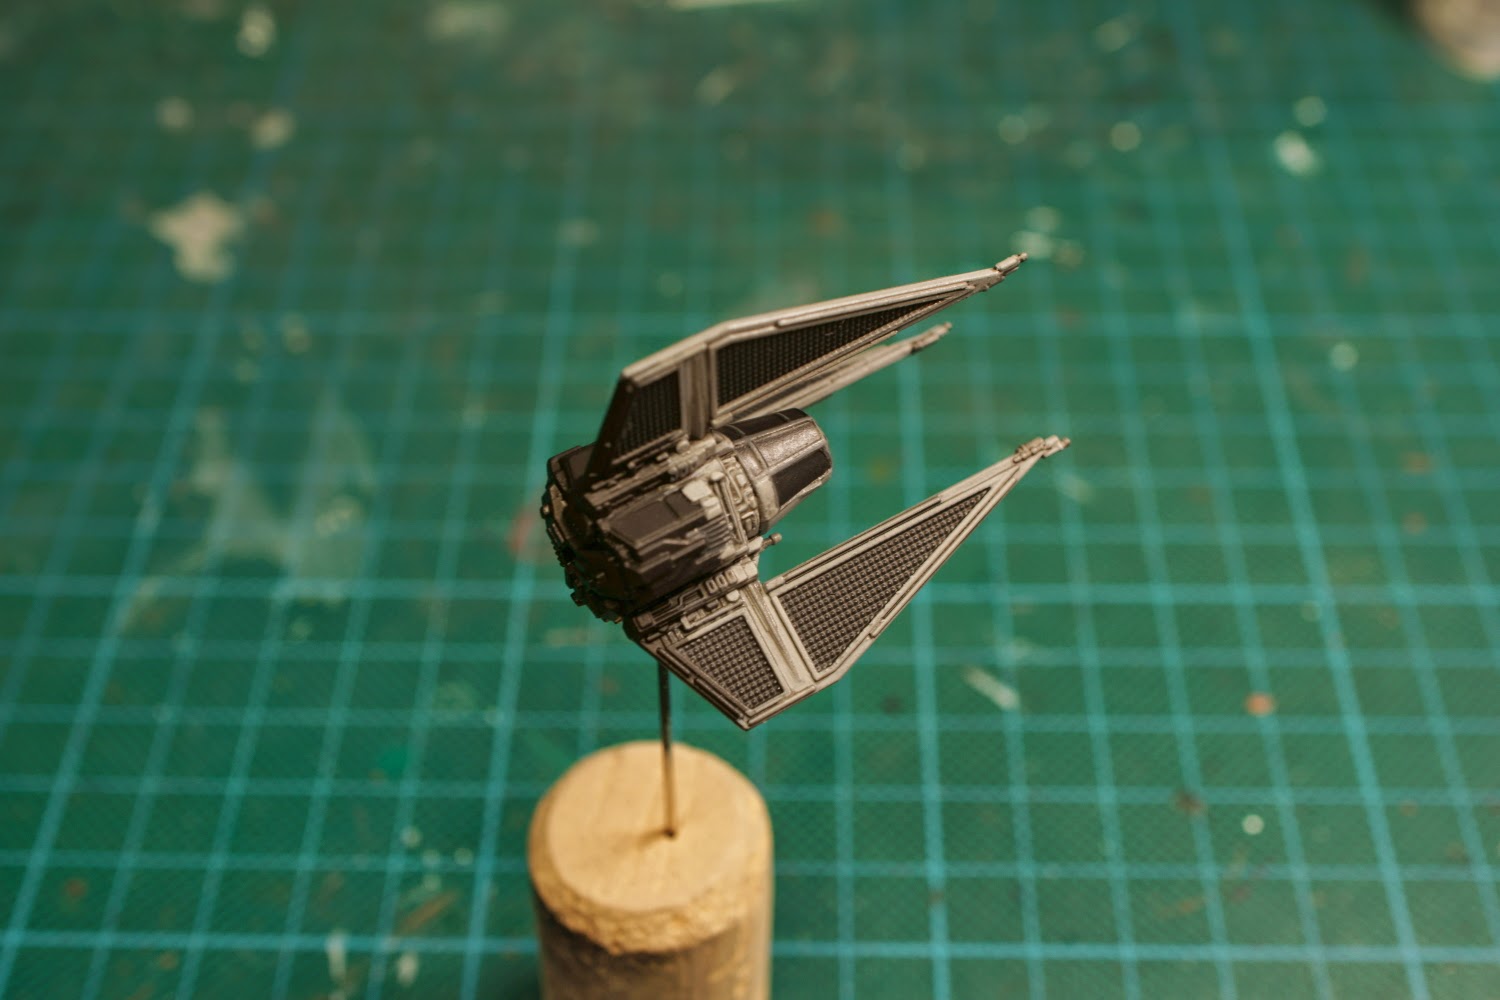
Something that should be painfully obvious from the picture is that I did not paint the entire model. As I had planned on painting my Phantom as if it were decloaking, there was no need to paint the rear. Indeed, I probably covered a bit too much of the model with base colours.

Phantom2.JPG

Phantom3.JPG

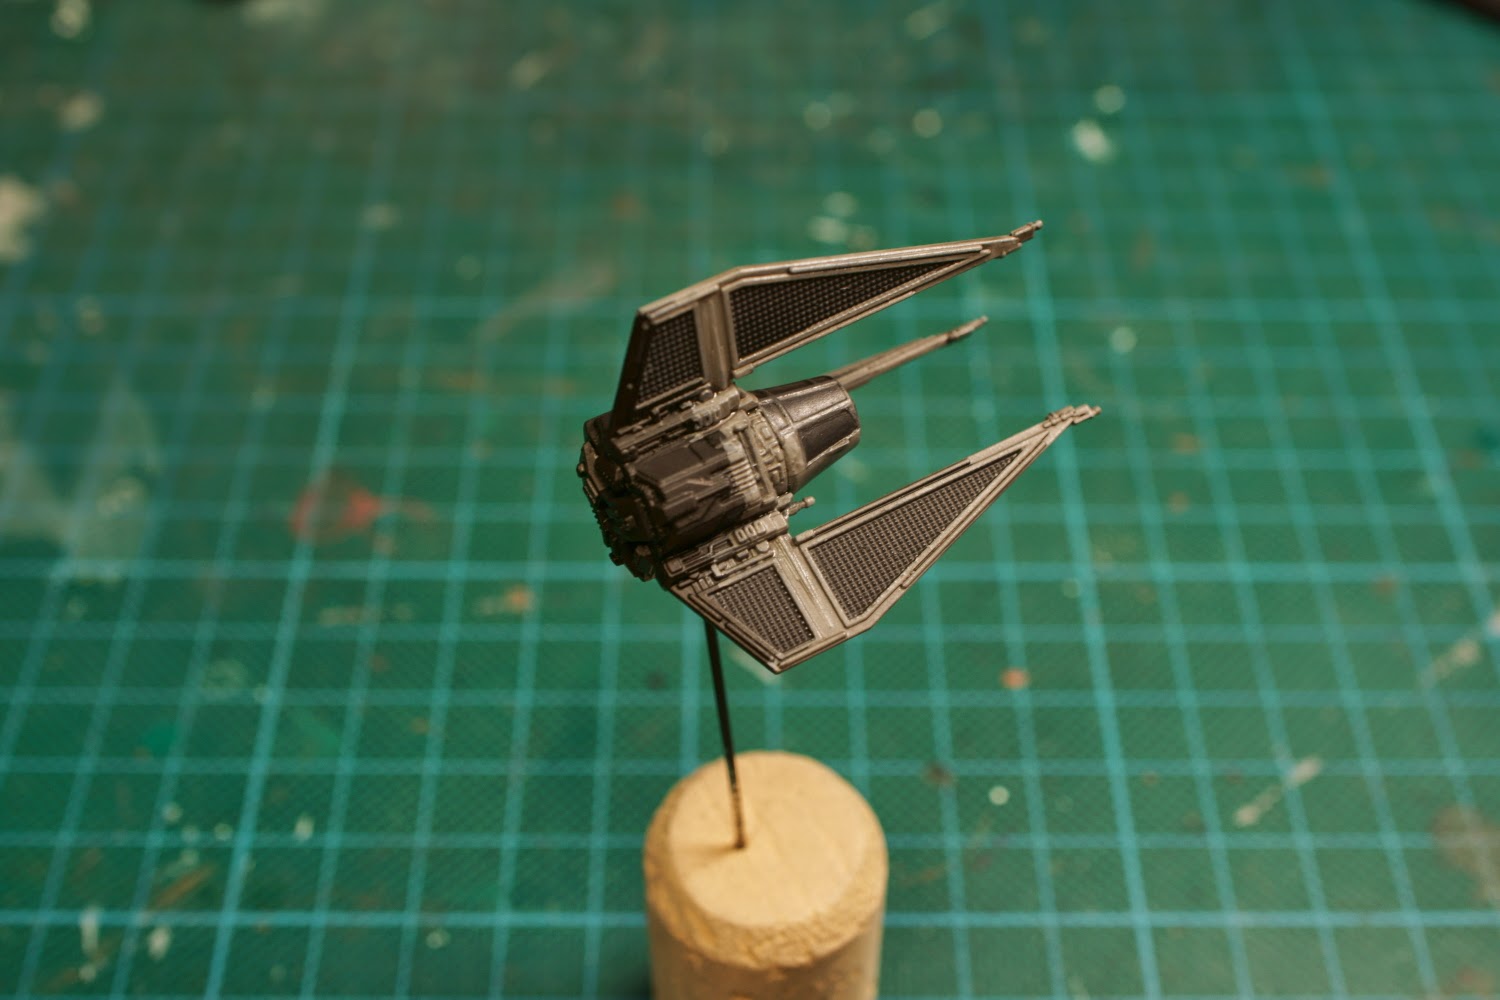
I washed the entire model with undiluted Army Painter Dark Tone ink and after that I cleaned up the model with the base colours.

Phantom4.JPG

I highlighted everything painted with Cold Grey with a 3:1 mix of Cold Grey and Stonewall Grey. The idea was that pure Stonewall Grey would have made the model too bright in comparison to the cloaking effect, but as it turned out this mix was unnecessary. In fact, the highlight is somewhat hard to see on some edges. Learn from my mistakes, kids! Before I forget to mention it, I also added a very hard to miss highlight on the solar panels by lightly drybrushing Cold Grey on them.

Phantom5.JPG

And now for the fun part! Decloaking! While I may have taken my inspiration from the previously mentioned Keffisch, I wanted the style of the cloaking effect to look similar to the artwork found on the Advanced Cloaking Device card that comes with the Phantom. To achieve this I started by painting pure Vallejo black slightly randomly on the edge between the painted and unpainted part. Next I painted a fairly broad area behind the black edge with a1:1 mix of old GW Regal Blue and Vallejo Black. Inside the previous mix I painted plain Regal Blue and I also drybrushed the rear with some German Grey followed by very light drybrush with Cold Grey. I reasoned that nothing is truly black, not even in space, and therefore the grey added some well needed definition.

Phantom6.JPG

Another two layers was added to the cloaking effect, first a 1:1 mix of Old GW Enchanted Blue and Regal Blue followed by a fairly fine line of pure Enchanted Blue.

Phantom7.JPG

Phantom8.JPG

Phantom9.JPG

And now it got a bit more complicated. I started adding small amounts of Vallejo Wolf Grey to Enchanted Blue and painted the cloaking effect in several successive layers until I had almost pure Wolf Grey. Sorry, can't give tell you how to mix each layer as I mixed what I needed with nothing more than gut feeling (and my gut never lies!). I also drybrushed some of the previous, darker blue mixes in several layers to the back of the fuselage and the wings and after that I cleaned up the drybrushed areas with some black. However when I was finished with this I wasn't quite satisfied with the model.

Phantom10.JPG

Something had to be done and in my mind that could only mean more cloaking effects! I went over the model again with all the previous blue colours and added more lightning tendrils. After that I added some final touches in the form of Vallejo Scarlett Red inside the engine exhausts, Vallejo Hot Orange to the tips of cockpit mounted laser cannons, a thin black line in front of the cloaking effect and, after varnishing, some gloss varnish on the cockpit. Now it looked much better! I will upload proper pictures in a couple of days, until then take care!

It looks superb.

Thanks for the tutorial as well. I may try to mimic this at my upcoming painting night! Assuming you don't mind!

think I'll try the look from the card.. a front back crackle.. I like that look on the card.

I think they're both quite cool, I prefer the way he did it, more of a decloaking ready to strike, but they are both great!

I agree, it does look good. I just haven't seen anyone paint it like on the card.. which if we go with your thought looks like it might be cloaking.. I hadn't thought about that, I like the concept

crackle on the front, Cloaking

crackle on the back, Decloaking

Damoel: I dont mind, just remember to post pictures (or it didn't happen :P).

Oneway: I'm probably going to buy at least one more Phantom when they are released and that one I'm going to paint like the card, with the lightning effect to the front.

I definitely will, once it is done! I've been sort of wanting to get in to painting my X-Wing stuff, to personalize it a bit. I miss painting quite a bit, but I find it hard to motivate myself to do so unless I am playing with the models. :D This project may be enough to motivate me get off my tush and start painting stuff up.

Here are the proper pictures of the Phantom. Enjoy!

PhantomFin1.JPG

PhantomFin2.JPG

PhantomFin3.JPG

PhantomFin4.JPG

Amazing! like the pain job and the step by step pics, congrats!

**** it, I want my Phantom NOW.

awesome job!!!!