The only thing I think could make an engine lighting job even better is if you could put two oscillators in there hooked together to make the lights vary in brightness for a flickering effect.
Fully lit CR90 Corvette
Absolutely amazing work. I want one soooo bad.
Any updates?
The only thing I think could make an engine lighting job even better is if you could put two oscillators in there hooked together to make the lights vary in brightness for a flickering effect.
I actually did do that. ![]() The effect though is subtle. The original trilogy ships never had flickering lights (the effect you see on the Y-wings was actually caused by the steering vanes in the back). But I did solder flickering LEDs to each cluster in the engines.
The effect though is subtle. The original trilogy ships never had flickering lights (the effect you see on the Y-wings was actually caused by the steering vanes in the back). But I did solder flickering LEDs to each cluster in the engines.
Good news for everyone waiting on me to finish this ship. I just managed to work out the AC-to-DC circuit to convert the power coming from the wall transformer to DC. This will power the lights and so forth when the ship is on the display shelf. When it's not, the power will have been charging the batteries, which will take over once the external power is removed.
Awesome work.
yeah it really sets it off, wish i had the skills to do stuff like this but i'm utterly rubbish at anything that requires fiddly wires and leds...
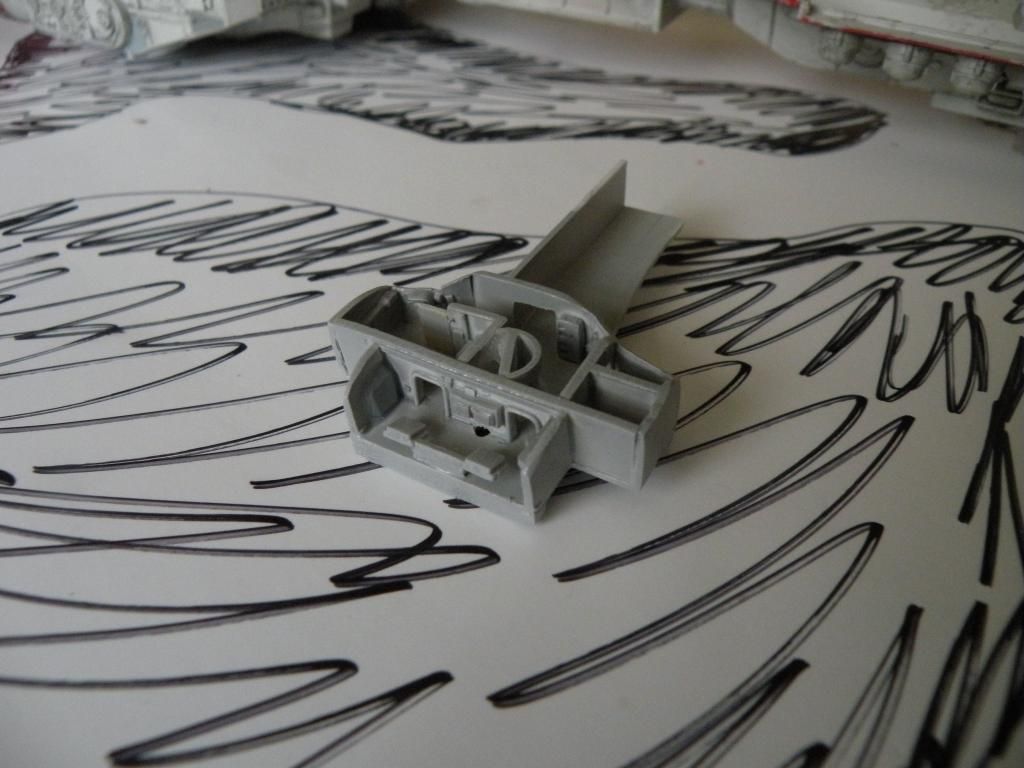
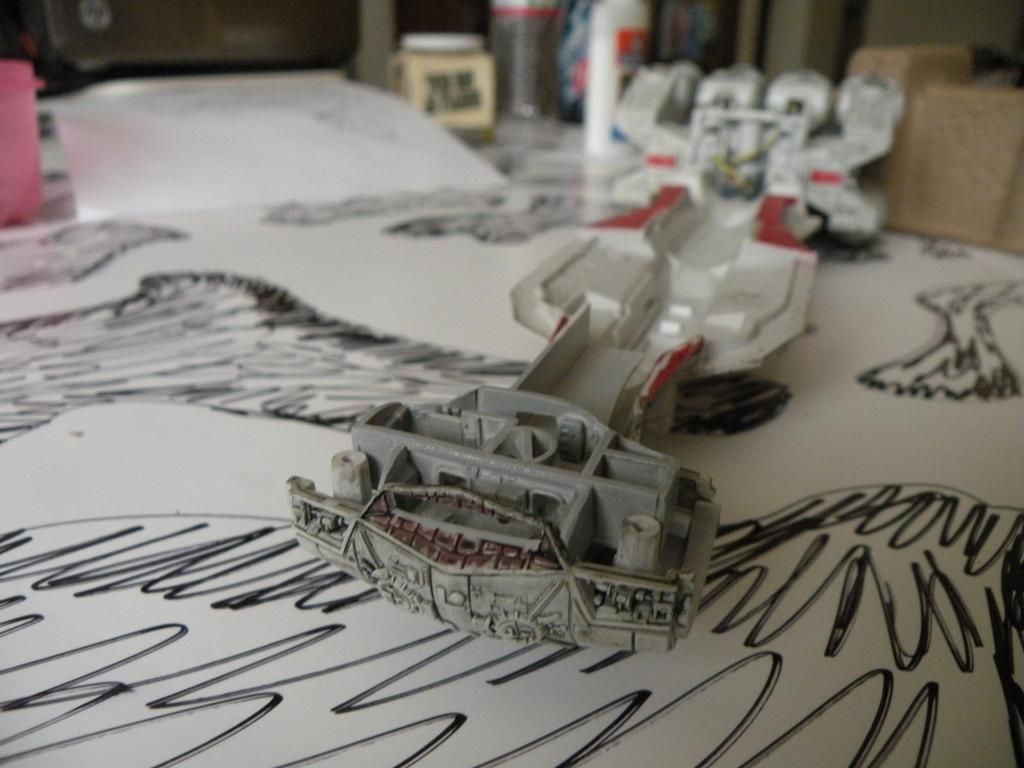
Oh my, I almost forgot:
I built the bridge! ![]() I plan on painting it soon, as well as ordering figures for it. I had to modify the deckplan I'd created somewhat to get it to fit in the hull, but it should look perfect.
I plan on painting it soon, as well as ordering figures for it. I had to modify the deckplan I'd created somewhat to get it to fit in the hull, but it should look perfect.
Oh my, I almost forgot:
I built the bridge!
I plan on painting it soon, as well as ordering figures for it. I had to modify the deckplan I'd created somewhat to get it to fit in the hull, but it should look perfect.
Love the bridge, are you going for 2d or 3d crew?
Edited by Hobojebus3D. There are some tiny plastic figures I linked to on the third or fourth page that I am having my hobby shop order for me.
MF - I'm finally getting around to taking mine apart, and it's mostly disassembled, but I'm having some issues getting the exhaust covers off. Judging from your pictures, it looks like they're just glued onto the end of the engines, but you said you took a hobby knife to them.
I figured that you did that to just loosen up the glue and then just leveraged the knife or something to just pop them off, but I'm not having much luck with that. Can you elaborate on your method?
I can. Basically, if you insert the knife blade into the seam and gently roll the engine piece while putting mild pressure on the blade, it will eventually cut the glue that binds the nozzle to the engine. You have to keep the blade parallel to the seam as you roll the engine, otherwise you'll end up cutting the plastic instead of the glue. It might take a few tries to do this, but go slow and steady with your cuts. You don't want to go to far or put too much pressure on the blade, otherwise it might slip and cut you or damage the engine. Also, if you've got a stubborn bit of glue, stick the part in a deep freeze overnight, or a regular freezer for two days, and it will cause the glue to become more brittle and easier to crack.
Hey MF - did you decide on a battery yet? I was planning on using laser pointer styled batteries, loaded from the side of the hammerhead, but reading back through this thread, I see that you're planning to use a rechargable battery. This got me thinking, and if done correctly, I could also wire it up such that it could run off of a wire - for display purposes.
But looking through amazon for potential rechargable batteries, I haven't come across anything that I'm confident will work. The best one from a size and function point of view seems to be http://www.amazon.com/Astro-Lipstick-Sized-Portable-PowerIQTM-Technology/dp/B005X1Y7I2/ref=sr_1_2?ie=UTF8&qid=1422984430&sr=8-2&keywords=usb+battery+pack
But that has a on/off button that wouldn't be easy to access, so I'd have to either tear into it and modify the circuitry, or have a way to actually press the button.
The other option seems to be going with a RC battery, but the ones for planes don't seem to have enough mAh, and the car ones seem too big.
I'm still going with the rechargeable option, but now I'm waiting till I can get into Circuits at college before I continue with the project. I want to be absolutely sure about this, though I think it'll be a relatively simple circuit to design.
you know I was just looking at some of my "hallmark" Star trek ornaments. and they have lights. just wondering how much extra it would cost for FFG to make lighted versions and if they could add sound even better..lol yeah yeah if your going to dream dream big... Even just sound would be cool like a tie advanced that says "I have you now" when a small unobtrusive button is pushed..lol and yes I have the soundboard app..
Wow!
Absolutely fantastic work, I can't wait to see the final project.
Any plans for a Raider? That huge engine could look awesome (although maybe it's too big for the same methods to work? I've no idea)!
Heh, definitely. ![]() The huge engine just begs for a cool turbine or maybe a cluster of them, plus I also want to build the bridge on this one, and add running lights along the greeble strip like I did with my Customs Corvette.
The huge engine just begs for a cool turbine or maybe a cluster of them, plus I also want to build the bridge on this one, and add running lights along the greeble strip like I did with my Customs Corvette.
Cool! Now I really DO want one!
MF - When you talk about a turbine, do you mean what I think you mean? I've been thinking for awhile what to do with the Raider, since it's going to be kinda silly to do the same thing as the CR-90 and Falcon... So I was thinking of putting in like a cooling fan from a PC or something to give it something turning in there. But of course I wouldn't be satisfied with one turning CW... I'd have to put a second in series going CCW =P. And then light those up - probably from the sides so the fins don't block the light as much.
But I'm still on the fence about doing that since that's not really what the star destroyers engines are like (and presumably this is either the same thing, or a smaller version). So, part of me wants to just throw some SUPER bright LEDs to really make the thing pop and then transparisteel clear plastic over the gap...
A cooling fan from a PC would turn far too quickly. What you need to do it get a gear-motor and attach a fan to it, that way it'll look like the part is actually spinning as opposed to just being a blob of fuzziness.
Also, don't use superbrights. Regular LEDs are just fine. Superbright LEDs can cause problems on the game table, because they're so bright that they will affect your vision as you're trying to make measurements and so forth.
That's amazing. much respect, because I'm no good with them. Last time I played with LEDs, I caught a girl'S braces on fire O_O
Edited by joewrightgmA very fantastic yet daunting task! can't wait to see when it's finished.
That's amazing. much respect, because I'm no good with them. Last time I played with LEDs, I caught a girl'S braces on fire O_O
How did you
A: Set an LED on fie
B: Get that fire in a girl's mouth
and then C: which dentist made flammable braces?
Short version: I couldn't figure out if the wiring or battery was faulty in a science class, and I asked her to test the battery on her tongue; she (as her own experiment) touched it to her braces; the bands on the brackets started to melt and smoke. But I digress, how 'bout that CR90? ![]()
Lol, that scenario begs for the Obi-wan quote. You know the one. ![]()
As far as the ship goes, I'm stalled until I can figure out this circuit. I don't want to mess with the battery, so I'm waiting till I can build a simple recharging circuit for it. Just gotta understand how to do that, heh...