Hello,
I just realised that one cannot edit post titles on this forum so I'm opening a new thread for my repaints instead of continuing the dagger squadron post.
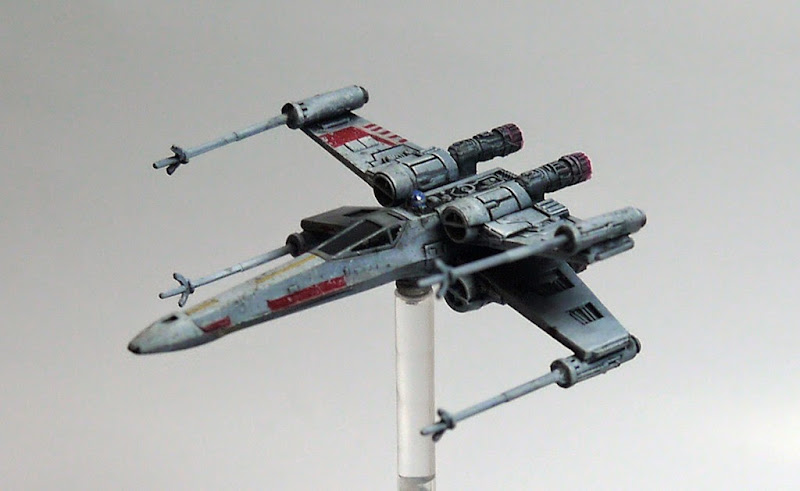
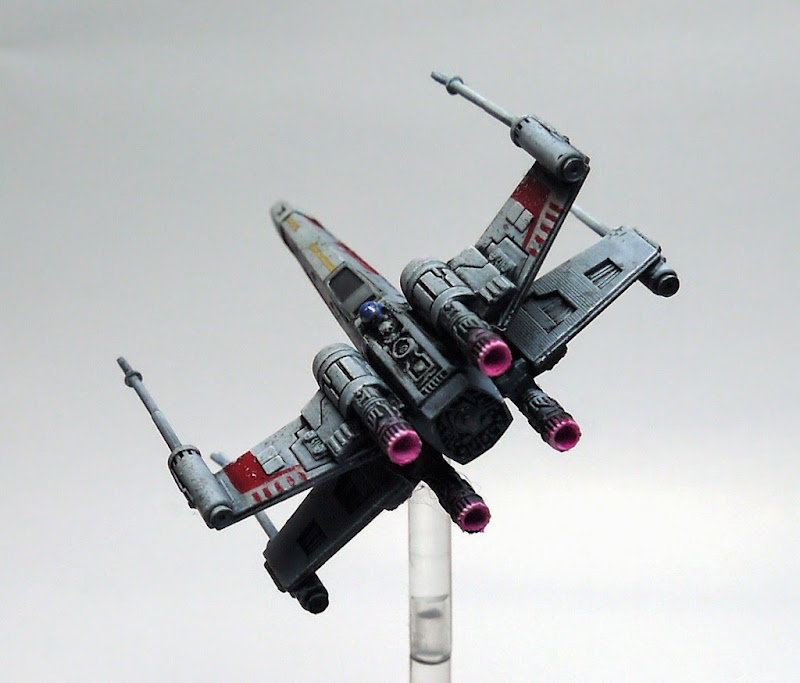
Here is my first X-Wing repaint, I'm starting with the head honcho, Luke Skywalker in his Red 5 fighter.
I decided to go with a more weathered look this time, as we're talking about a ship maintained by a ragtag group of rebel terrorists continuously on the run from guardians of the law and order.
You can see more pictures and a couple of WIP shots on the blog:
http://rule37-ica.blogspot.fr/2014/05/showcase-luke-skywalker-red-5-x-wing.html
Hope you like it!